Ever poured your heart into creating a video, recording a podcast, or leading a meeting, only to have your message completely undermined by thin, staticky, or muffled audio? It’s a frustrating experience that can make even the most brilliant content feel amateurish. Your voice gets lost in the digital noise, and your audience disengages.
Whether you’re a budding podcaster aiming for that smooth NPR sound, a streaming superstar in the making, a musician ready to lay down your next masterpiece, or simply someone who wants to command respect with crystal-clear audio in online meetings, the right microphone is not just a piece of gear—it’s your most important communication tool.
But let’s be real. The world of microphones is a rabbit hole of technical jargon. Dynamic, condenser, USB, XLR, polar patterns, phantom power… it’s enough to make your head spin. And the prices? They can range from a casual lunch to a down payment on a car.
Fear not! This guide is your friendly roadmap. We’re here to demystify the tech, explore the best options on the market, and help you find the perfect microphone that fits your unique needs and, crucially, your budget. We believe everyone deserves to be heard clearly.
So, are you ready to stop sounding like you’re broadcasting from a tin can and finally unlock your true sonic potential? Let’s dive deep.
Table of Contents
Hooked? Let’s Talk About Why Sound Really Matters
Think about the last time you were captivated by a piece of audio. A podcast host whose voice felt rich, present, and intimate. A streamer whose every word was crisp and clear, making you feel like you were right there in the action. That connection is built on a foundation of high-quality audio.
Good sound builds trust and authority. It tells your audience that you are serious about what you do. Conversely, bad audio is distracting. It creates a subconscious barrier, forcing your listener to work harder to understand you, and they’ll often just click away to something more pleasant to listen to.
The great news? Achieving that professional sound is more accessible than ever. You don’t need a million-dollar studio. You just need the right microphone for the job.
Decoding the Microphone Universe: Essential Types You Need to Know
To choose wisely, you first need to understand the fundamental players. Most microphones you’ll encounter fall into one of two main categories based on how they capture sound: Dynamic or Condenser.
1. Dynamic Microphones: The Rugged Workhorses
Imagine a tiny electrical generator. That’s essentially a dynamic microphone. Sound waves hit a diaphragm attached to a coil of wire. As the coil moves back and forth within a magnetic field, it generates a small electrical current that mirrors the sound. It’s a simple, tough, and brilliant piece of engineering.
Pros:
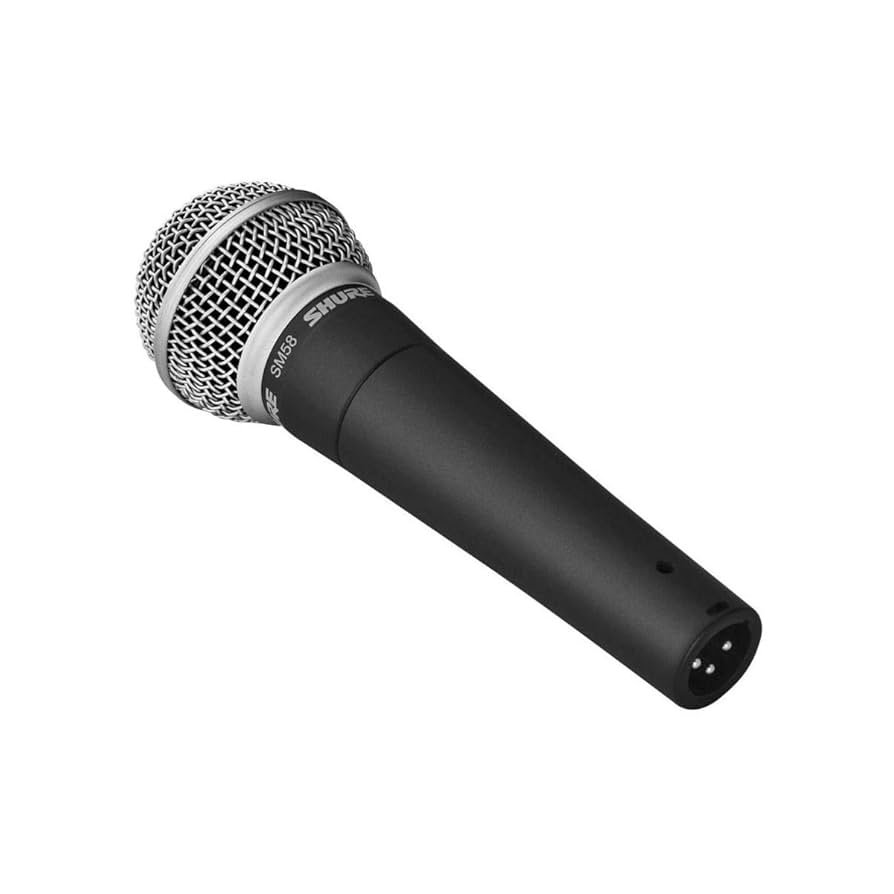
- Incredibly Durable: These mics are built like tanks. You’ve seen rockstars swing them around and drop them on stage—that’s the legendary toughness of a dynamic mic like the Shure SM58. They can handle the bumps and bruises of travel and live performance.
- Handles Loud Sounds (High SPL): They are perfect for recording loud sources like screaming vocals, roaring guitar amps, and pounding drum kits without distorting.
- Less Sensitive & Great Noise Rejection: This is their superpower. They primarily pick up what’s directly in front of them, effectively ignoring a lot of background noise like a computer fan, air conditioning, or traffic outside. This makes them ideal for untreated rooms.
- No External Power Needed: They are passive devices, making them simple to set up with any mixer or interface.
Cons:
- Less Detail in High Frequencies: They generally don’t capture the airy, delicate nuances and high-end sparkle as well as condenser mics.
- Needs More Gain: Because their signal is weaker, you’ll need an audio interface or mixer with a decent preamp to boost the signal to a usable level.
Best For: Podcasting in untreated rooms, live vocals, recording loud instruments (drums, guitar amps), broadcasting.
2. Condenser Microphones: Capturing Every Nuance
If a dynamic mic is a workhorse, a condenser microphone is a sensitive artist. It works like a capacitor, using two electrically charged plates. One plate is a fixed backplate, and the other is an ultra-thin diaphragm that vibrates with sound waves. This vibration changes the distance between the plates, altering their capacitance and creating an electrical signal. This method is far more sensitive to subtle changes in air pressure.
Pros:
- Superior Sensitivity and Detail: They capture a rich, detailed, and accurate sound with a wide frequency response. This is why they’re prized for studio vocals and acoustic instruments—they pick up every breath and subtlety.
- Hotter Output Signal: They produce a stronger signal than dynamic mics, requiring less gain from your preamp.
Cons:
- Requires Phantom Power: That sensitive mechanism needs external power to charge the plates. This is called “phantom power” (usually +48V), which is supplied by most audio interfaces and mixers.
- More Fragile: The delicate internal components mean you need to handle them with more care. Dropping one can be a costly mistake.
- Picks Up Everything: Their sensitivity is a double-edged sword. They will pick up the hum of your refrigerator, your neighbor’s dog barking, and the echo of your room. A quiet, acoustically treated space is highly recommended.
Best For: Studio vocals, acoustic instruments, voice-overs, podcasting and streaming in a quiet, controlled environment.
Sub-Categories: How They Connect
Beyond how they capture sound, microphones are also defined by how they connect to your computer.
3. USB Microphones: Plug-and-Play Simplicity
A USB microphone is a complete, all-in-one recording solution. It contains the microphone capsule (often a condenser), the preamp, and the analog-to-digital converter all in one body. You just plug it into your computer’s USB port, select it as your audio device, and you’re ready to record.
Pros:
- Ultimate Convenience: No extra boxes or cables needed. It’s the fastest way to go from unboxing to recording.
- Cost-Effective: You’re buying one device instead of a microphone plus an audio interface, saving you money.
- Portable: Perfect for recording on the go with a laptop.
Cons:
- Limited Flexibility: You can generally only record with one USB microphone at a time. It’s less scalable for multi-person podcasts or recording multiple instruments.
- Quality Varies: While modern USB mics like the Rode NT-USB+ are fantastic, the built-in components may not match the quality of dedicated, high-end standalone units.
Best For: Beginner to intermediate podcasters, streamers, voice-overs, online meetings, and simple music demos.
4. XLR Microphones: The Professional Standard
XLR is the three-pin connector you see on professional audio gear. An XLR microphone outputs an analog signal and requires a separate piece of hardware—an audio interface or mixer—to convert that signal to digital and send it to your computer.
Pros:
- Highest Quality Potential: By separating the components, you can mix and match for the best possible quality. A great XLR mic paired with a great preamp and interface will deliver superior sound.
- Versatility & Scalability: An audio interface can have multiple inputs, allowing you to record with several XLR mics at once. You can also use balanced XLR cables for very long runs without signal degradation or noise.
- Upgradable: You can upgrade your microphone, your interface, or your preamp individually as your needs and budget grow.
Cons:
- Requires More Gear: You must buy an audio interface to use an XLR mic with your computer. This adds to the overall cost and complexity.
- Steeper Learning Curve: It’s not as simple as plug-and-play, but the basics are easy to learn.
Best For: Professional music recording, serious podcasters and streamers, multi-person setups, and anyone who wants maximum control and quality.
Finding Your Sonic Sweet Spot: Microphones for Every Budget
Now for the fun part! Here are some top-tier recommendations to get you started, broken down by budget.
Budget-Friendly Brilliance (Under $100)
At this price, you can find a microphone that will be a massive upgrade from any built-in mic. The focus is on clarity, value, and ease of use.
- Samson Q2U: A true champion of this category. It’s a dynamic microphone with both USB and XLR outputs. Start with the plug-and-play simplicity of USB, and when you’re ready to upgrade to an interface, you can keep the same mic and just switch to the XLR output. Its sound is excellent for spoken word.

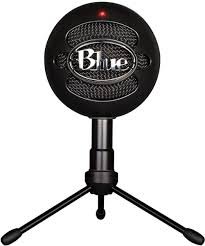
- Blue Snowball iCE: An icon in the beginner space. This USB condenser microphone offers a crisp, clear sound that’s fantastic for Zoom calls, basic streaming, and getting your podcast off the ground. It’s incredibly user-friendly.
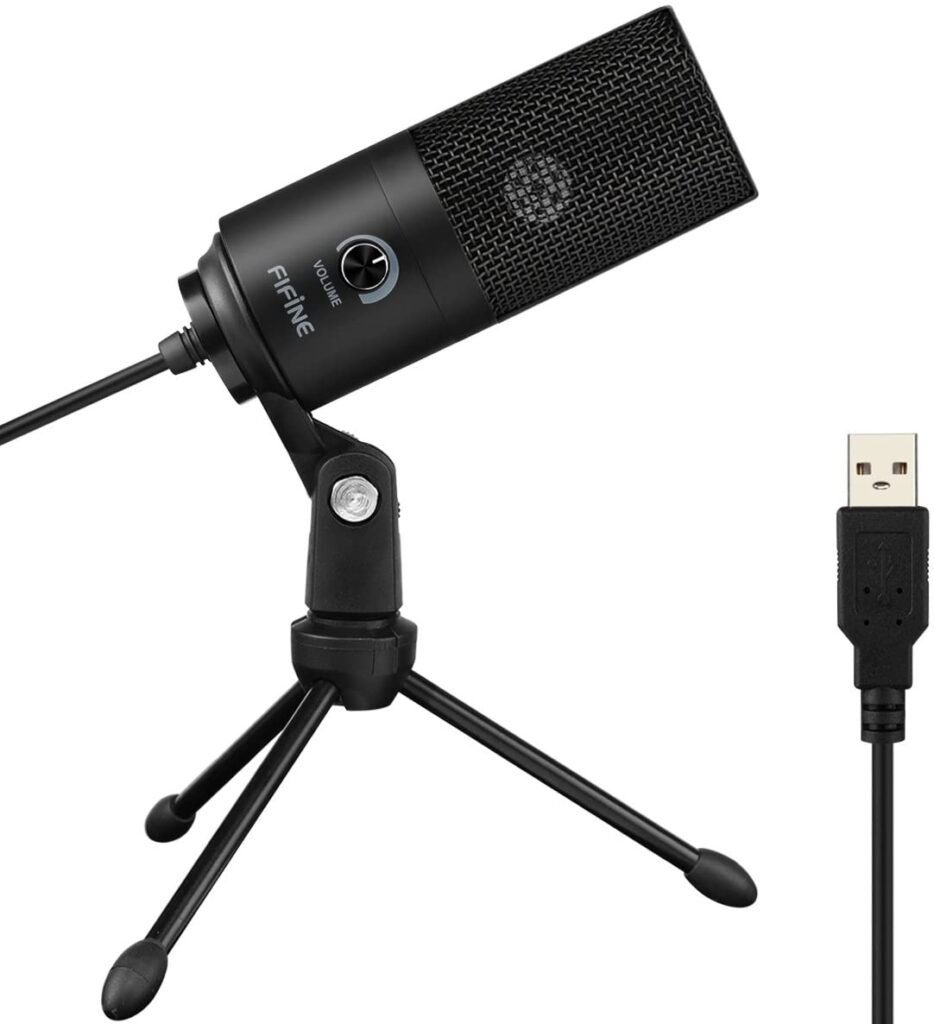
- Fifine K669B: The dark horse that took the budget world by storm. This USB condenser delivers shockingly good audio quality for its price. It’s a no-frills workhorse that’s perfect for anyone who wants great sound without breaking the bank.
Mid-Range Marvels ($100 – $300)
This is the sweet spot for many serious creators. You get a significant leap in audio fidelity, build quality, and features.
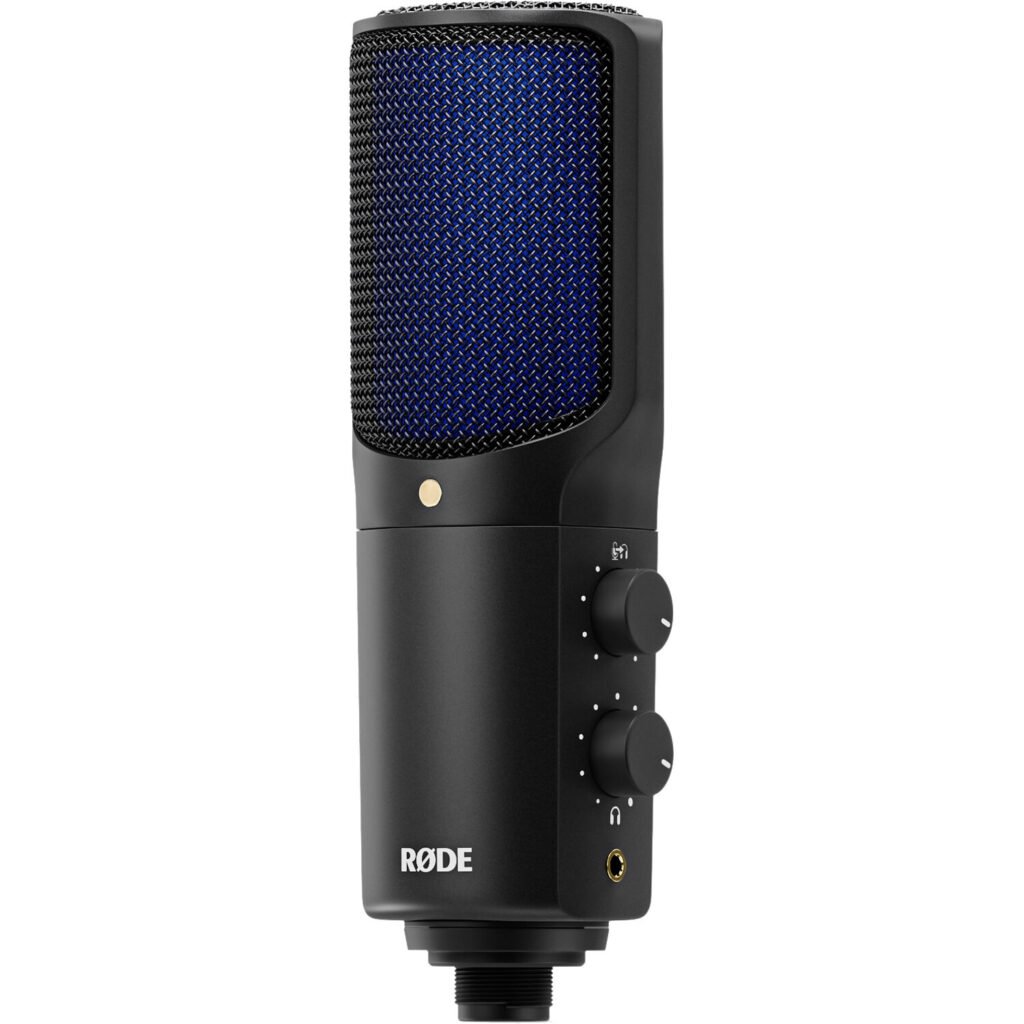
- Rode NT-USB+: The gold standard for professional USB microphones. Rode took their legendary studio sound and packed it into an incredibly convenient USB-C package. It features a high-quality internal preamp and converter, delivering rich, broadcast-quality audio right out of the box.
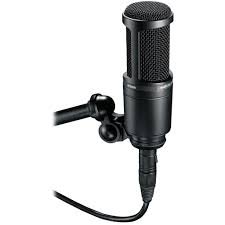
- Audio-Technica AT2020 (XLR): For many, this is the first “real” studio microphone. It’s an XLR condenser that provides a bright, detailed sound that makes vocals and acoustic guitars shine. You’ll need an audio interface, but its quality is a benchmark at this price.
- Shure SM58 (XLR): The most famous microphone in the world. This dynamic mic is virtually indestructible and has shaped the sound of live music for decades. For podcasters in noisy rooms or vocalists with a powerful delivery, its ability to reject background noise and handle loud sources is legendary.
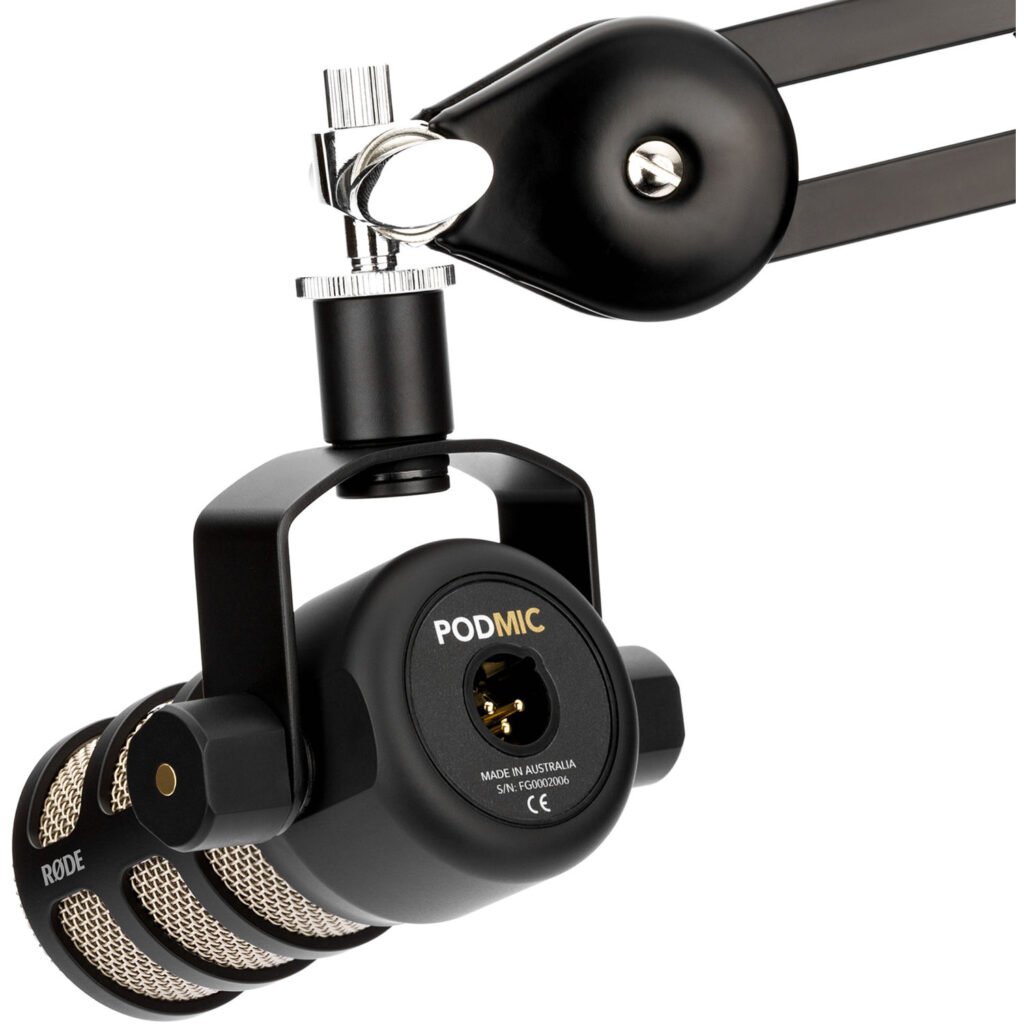
- Rode PodMic (XLR): As the name suggests, this dynamic microphone was purpose-built for podcasting. It has a rich, warm, broadcast-style tone that makes voices sound incredible. Pair it with a good interface, and you have a pro-level podcasting setup.
Premium Performers ($300 – $1000+)
When audio is your profession or most serious hobby, investing here pays dividends. These microphones are industry standards for a reason.
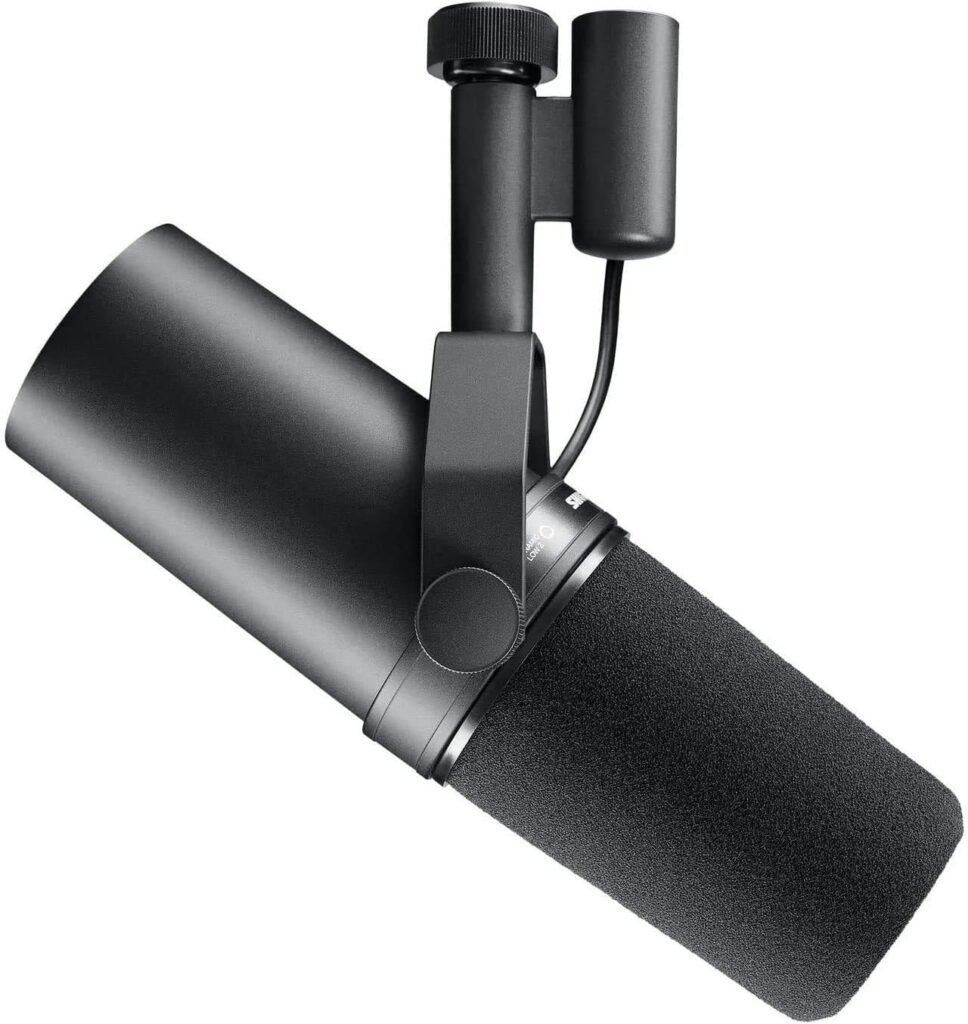
- Shure SM7B (XLR): You’ve seen this microphone in the studios of Joe Rogan, Michael Jackson (on Thriller!), and countless top streamers. It’s a dynamic mic that delivers an impossibly smooth, warm, and professional vocal sound while rejecting almost all background noise. It’s a king for a reason, but it does require a lot of gain from your interface.
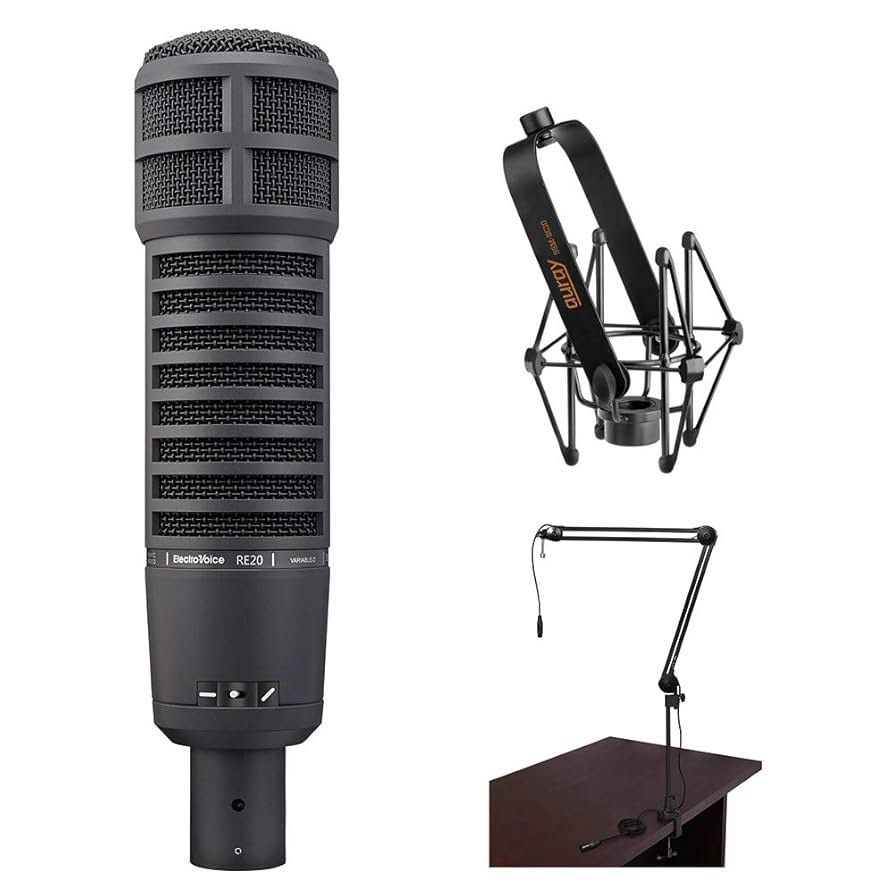
- Electro-Voice RE20 (XLR): The other king of broadcast. This dynamic microphone is a staple in radio stations worldwide. It’s known for its incredibly natural, uncolored sound and its “Variable-D” technology, which minimizes the “proximity effect” (the boomy bass sound you get when you’re too close to most mics).
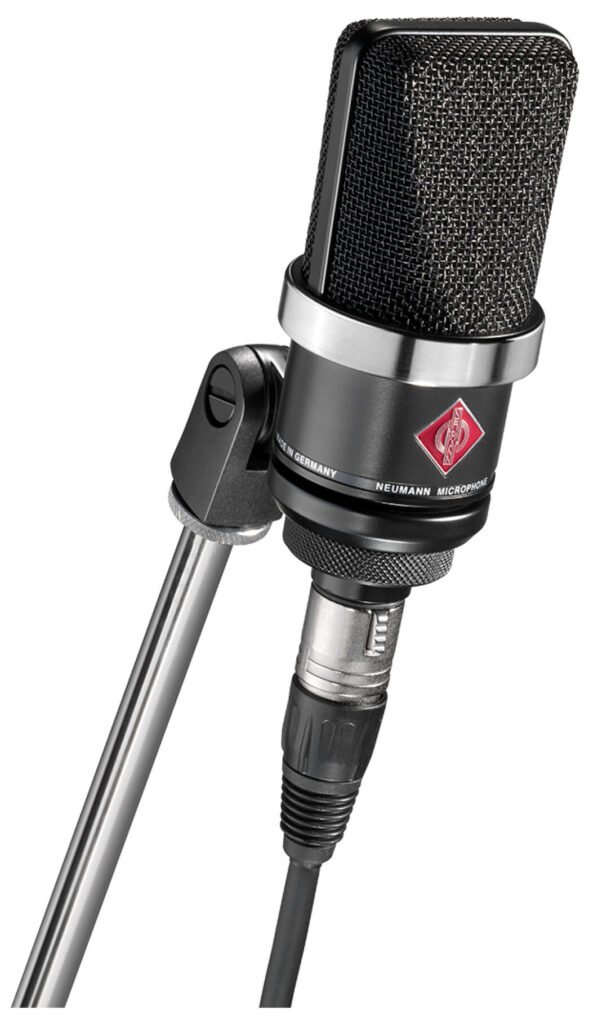
- Neumann TLM 102 (XLR): Stepping into the world of Neumann is a big deal. This large-diaphragm condenser microphone delivers the pristine clarity, incredible detail, and silky smooth top-end the brand is famous for. It’s an investment that will make vocals and instruments sound world-class.
Choosing the Right Microphone: Key Factors to Consider
Beyond budget, ask yourself these questions:
- Primary Use Case: Podcasting? Streaming? Singing? The best mic for a screaming rock vocal (dynamic) is different from the one for a delicate acoustic guitar (condenser).
- Your Recording Environment: Be honest. Is your room quiet or noisy? An untreated, echoey room will favor a dynamic microphone. A quiet, treated room will allow a condenser microphone to shine.
- Understanding Polar Patterns: This is crucial. It describes the microphone’s field of hearing.
- Cardioid: The most common pattern. Picks up sound from the front and rejects sound from the sides and rear. Perfect for a solo creator at a desk.
- Omnidirectional: Picks up sound equally from all directions. Great for capturing a group discussion around a table with a single mic or recording room ambiance.
- Bidirectional (Figure-8): Picks up sound from the front and the back, but rejects the sides. Ideal for a two-person interview across a table.
- Frequency Response: This is a chart showing how sensitive a mic is to different frequencies (lows, mids, highs). Some mics have a “flat” response for accuracy, while others have a “presence boost” in the upper-mids to help vocals cut through a mix.
Level Up Your Audio: Pro Tips for Better Sound
Your new microphone is just the start. Use these tips to get 110% out of it:
- Get a Boom Arm or Stand: Holding a mic is a no-go. A proper stand isolates it from bumps and vibrations from your desk and lets you position it perfectly. A boom arm is a game-changer for convenience.
- Use a Pop Filter: This simple mesh screen sits between you and the mic, diffusing the harsh blasts of air from “P” and “B” sounds (plosives). It’s a non-negotiable for clean vocal recordings.
- Master Microphone Technique: Don’t speak directly into the top of the mic. Aim your voice slightly across the front face. Try to maintain a consistent distance (about 4-6 inches) for a stable volume level.
- Monitor Your Audio with Headphones: Plug headphones directly into your interface or USB mic (if it has a jack). This lets you hear exactly what the mic is hearing in real-time, allowing you to catch issues as they happen.
- Tame Your Room: You don’t need a pro studio. Hanging heavy blankets, adding bookshelves, or even placing pillows in corners can absorb sound reflections and drastically reduce echo.
Your Questions Answered: The Ultimate Microphone FAQ
We get it—diving into the world of audio gear can bring up a lot of questions. Here are clear, straightforward answers to some of the most common queries we see from creators just like you.
1. Do I really need an expensive microphone to sound good?
Honestly? No! The single biggest jump in audio quality you will ever experience is moving from your laptop’s built-in mic or a cheap headset to a dedicated budget microphone like the Samson Q2U or Fifine K669B.
Think of it like this: going from $0 to $100 gets you 80% of the way to a professional sound. Going from $100 to $1000 gets you that extra 20% of nuance, clarity, and polish. A well-used budget mic in a decent room will always sound better than a top-tier microphone in a terrible, echoey space. Start where your budget is comfortable; you’ll be amazed at the results.
2. What exactly is an audio interface, and do I need one?
An audio interface is a small box that acts as the bridge between a professional XLR microphone and your computer. It does three crucial things:
- It provides a high-quality preamp to boost the microphone’s signal (this is the gain knob).
- It supplies phantom power (+48V) needed for condenser microphones.
- It converts the microphone’s analog signal into a digital signal your computer can understand.
Here’s the simple rule: If you buy a USB microphone, you do not need an audio interface—all that technology is built right in! If you buy an XLR microphone, you absolutely need an audio interface to make it work.
3. What’s the difference between gain and volume?
This is a fantastic question and a common point of confusion!
- Gain is the input level. It controls how sensitive the microphone is. You set the gain first to get a strong, healthy signal that isn’t too quiet or too loud (which causes distortion or “clipping”). Think of it as the tap controlling how much water flows into a bucket.
- Volume is the output level. It controls how loud the sound is in your headphones or speakers. Think of it as the nozzle controlling how much water you spray out of the bucket.
Your workflow should be: Set your gain to a good level while watching your recording software’s meter, then adjust your headphone volume for comfortable listening.
4. Will a better microphone fix the echo in my room?
No, and this is a critical point. A microphone can only record the sound that is actually in the room. It cannot magically erase echo (reverberation).
However, your choice of microphone can help. A dynamic microphone is much less sensitive to background noise and room reflections than a condenser mic. So, if you’re in a less-than-ideal space, choosing a dynamic mic like a Rode PodMic or Shure SM58 is a smart move. The ultimate fix for echo, though, is treating your room with soft things that absorb sound—like blankets, rugs, pillows, or acoustic panels.
5. I hear a slight delay of my voice in my headphones when I record. How do I fix that?
That annoying delay is called latency. It’s the tiny amount of time it takes for your voice to travel into the mic, get processed by your computer, and then sent back to your headphones.
The solution is a feature called direct monitoring (or “zero-latency monitoring”). Most modern USB mics and all audio interfaces have a headphone jack built directly into them. Plugging your headphones into the device itself, rather than your computer, allows you to hear your voice before it goes to the computer, completely eliminating the delay.
6. What are the absolute must-have accessories for a new microphone?
Don’t just buy a microphone and put it on your desk! To get the best results, you need a few key accessories. In order of importance:
- A Stand or Boom Arm: This is non-negotiable. It holds the mic steady, reduces vibrations from your desk, and allows you to position it perfectly in front of your mouth. A boom arm offers the most flexibility.
- A Pop Filter: This is the mesh screen that sits in front of the mic. It stops the harsh puffs of air from “p” and “b” sounds (plosives) from creating a distorted “thump” in your recording. It’s a cheap accessory that makes a huge difference.
- Headphones: You need to hear what your microphone is hearing! A decent pair of closed-back headphones will help you monitor your levels and catch any issues as you record.
7. How do I record a podcast with two or more people in the same room?
This is where an XLR setup truly shines. While there are some specialized USB mics for this, the professional standard is to give each person their own XLR microphone. You then plug each mic into a separate input on an audio interface that has two or more channels (like a Focusrite Scarlett 2i2 or Rodecaster Pro). This gives you independent control over each person’s audio level and results in the cleanest possible sound.
Your Voice Matters – Find the Microphone That Lets It Shine!
Whew, that was a lot! But choosing the right microphone doesn’t have to be a stressful ordeal. It’s an exciting step towards making your creative vision a reality. By understanding the core technologies, being honest about your needs and environment, and starting with a budget you’re comfortable with, you can confidently select the perfect tool to capture your voice with the power and clarity it deserves.
Remember, a great microphone is an investment in your brand, your art, and your ability to connect with your audience. You have something to say; make sure they can hear it perfectly.
Ready to take the next step on your audio journey? Head over to MindGearMen to browse our curated collection of microphones. We have options for every use case and budget. Find your perfect sound today and let your voice finally be heard!
What microphone are you currently using, or what’s the first thing you plan to record with your new one? Drop a comment below and let’s talk audio!