Why Every DIYer Needs a Custom Workbench
If you’re someone who loves building, fixing, or creating, you’ve probably been frustrated with flimsy tables that shake, lack space, or simply don’t hold up to heavy-duty tasks. That’s where a custom-built workbench comes in — a tailored solution that matches your needs, space, and style of work.
Whether you’re a hobbyist woodworker, a garage tinkerer, or an occasional DIY enthusiast, having the right workbench can:
- Increase productivity
- Improve safety
- Keep your workspace organized
- Extend the lifespan of your tools
In this Step-by-Step Guide to Building a Custom Workbench, we’ll walk you through each stage of the process — from planning and materials to construction and customization — and share 10 pro tips to help you build like a pro even if you’re a beginner.
Step 1: Plan Your Custom Workbench Design
Before you start sawing wood or driving screws, you need a plan. Good planning ensures you build a workbench that suits your specific needs and workspace.
Key Planning Questions:
- What kind of projects will I do? Heavy woodworking, delicate electronics, painting, or metalwork? Each requires different levels of sturdiness and finishes.
- How much space do I have? Measure your garage, shed, or basement to avoid overcrowding.
- What’s my ideal work height? Standard is 34-36 inches, but adjust if you prefer sitting or standing.
- Will I need storage? Drawers, shelves, pegboards, and tool racks can be incorporated.
- Do I want mobility? Adding wheels can help if you need to reposition your bench.
Example Design Types:
- Basic Sturdy Bench: Minimalist design, just the top and legs.
- Workbench with Storage: Includes drawers, cabinets, or shelves.
- Mobile Workbench: Includes heavy-duty caster wheels for mobility.
- Wall-Mounted Folding Bench: For small spaces where you need a collapsible solution.
Pro Tip 1: Use free design software like SketchUp or online workbench planners to visualize your setup in 3D.
Step 2: Select the Right Materials
The durability of your workbench depends on the materials you choose. You want materials that can withstand wear and tear, heavy loads, and the occasional spill or scratch.
Best Material Options:
- Lumber for Frame:
- 2×4 or 4×4 kiln-dried lumber: Sturdy and cost-effective.
- Workbench Top:
- Plywood (¾” thick minimum): Affordable and good for light-to-medium tasks.
- MDF (Medium-Density Fiberboard): Very smooth, good for finishing work.
- Hardwood (Maple, Oak): Excellent durability and impact resistance but more expensive.
- Butcher Block: Aesthetic and functional but premium in cost.
- Metal Frames: For heavy-duty, industrial-style benches.
Pro Tip 2: Buy extra material — mistakes and adjustments are part of any build!
Step 3: Gather Your Essential Tools
A successful DIY project requires the right tools. Here’s what you’ll need:
Basic Tools:
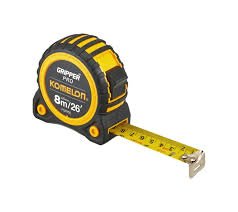
- Tape Measure
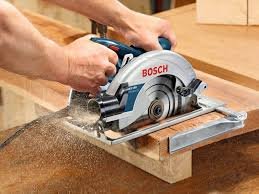
- Circular Saw or Table Saw
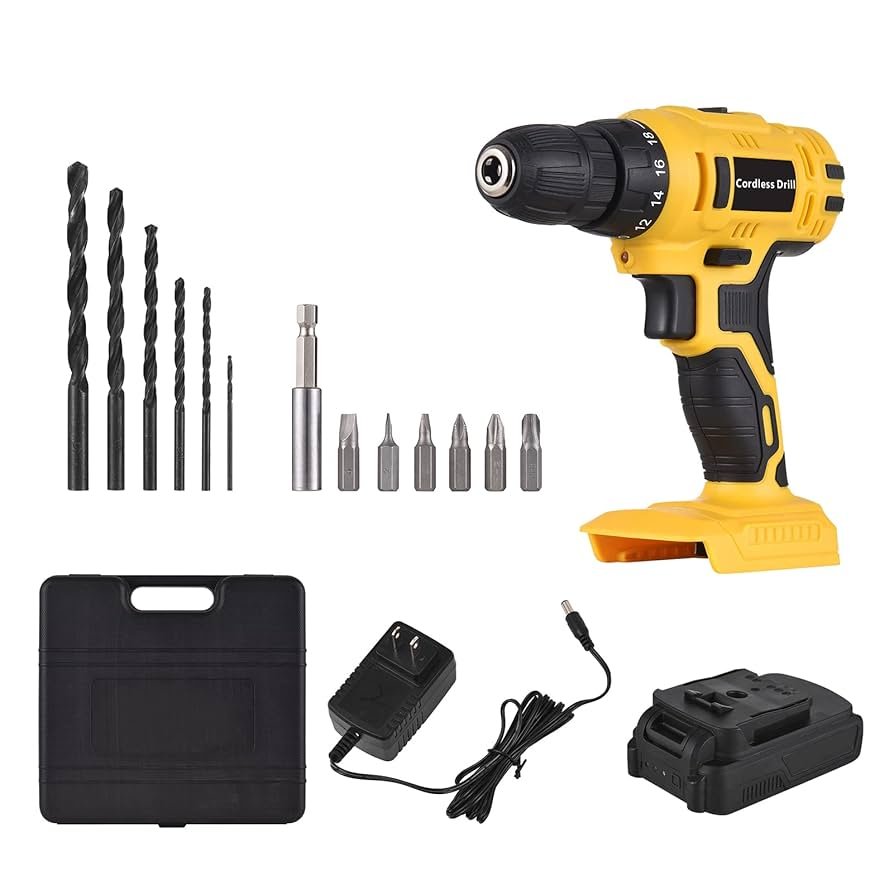
- Power Drill with drill and screwdriver bits
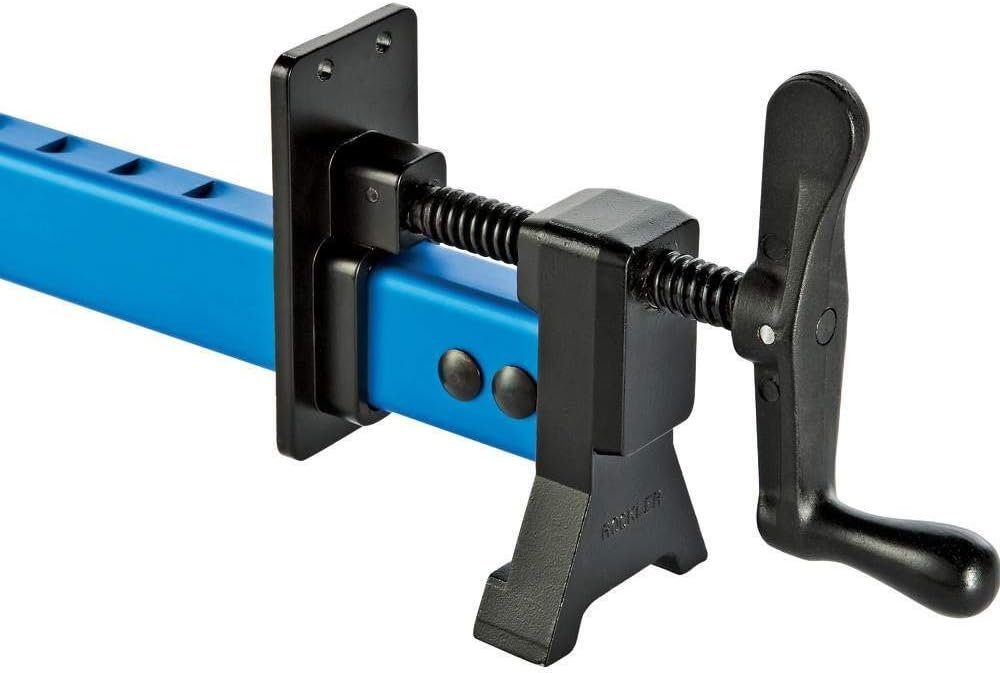
- Clamps (essential for holding pieces in place while assembling)
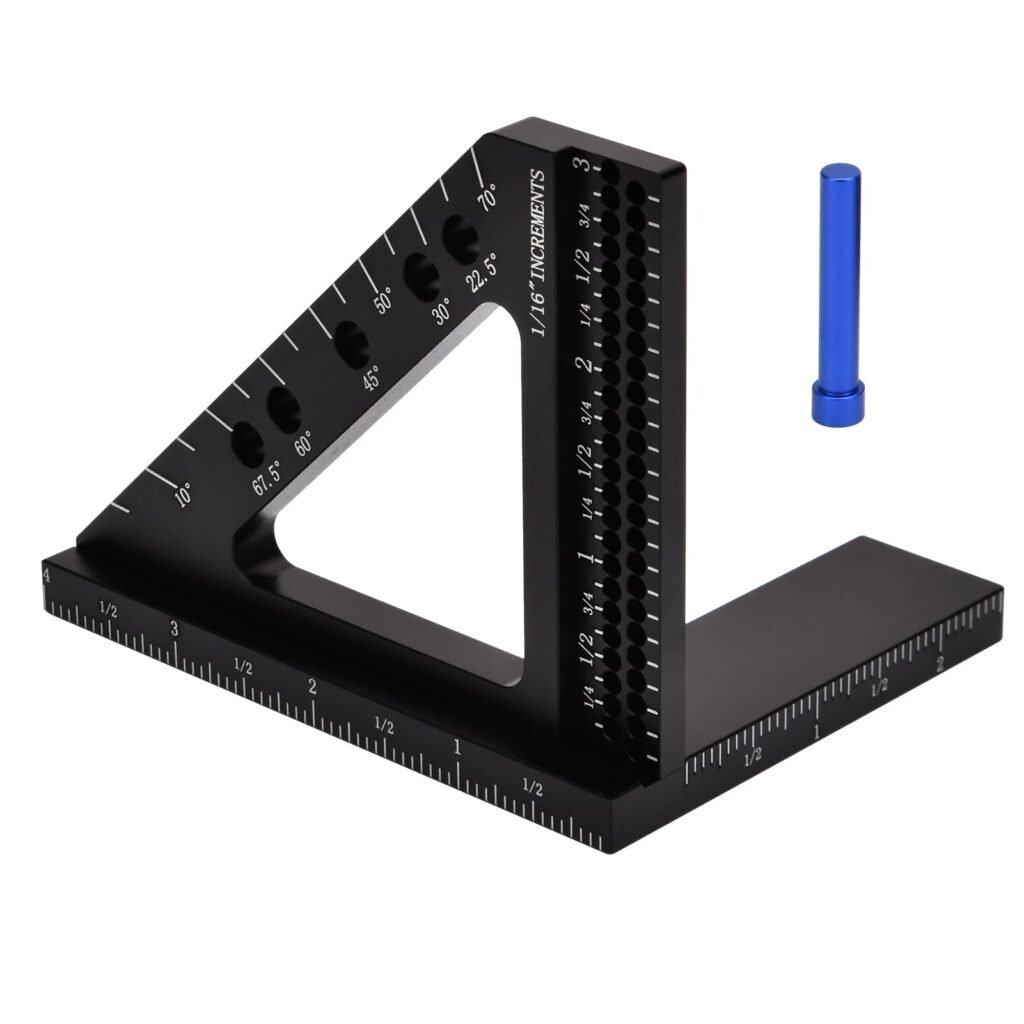
- Carpenter’s Square for ensuring 90° angles
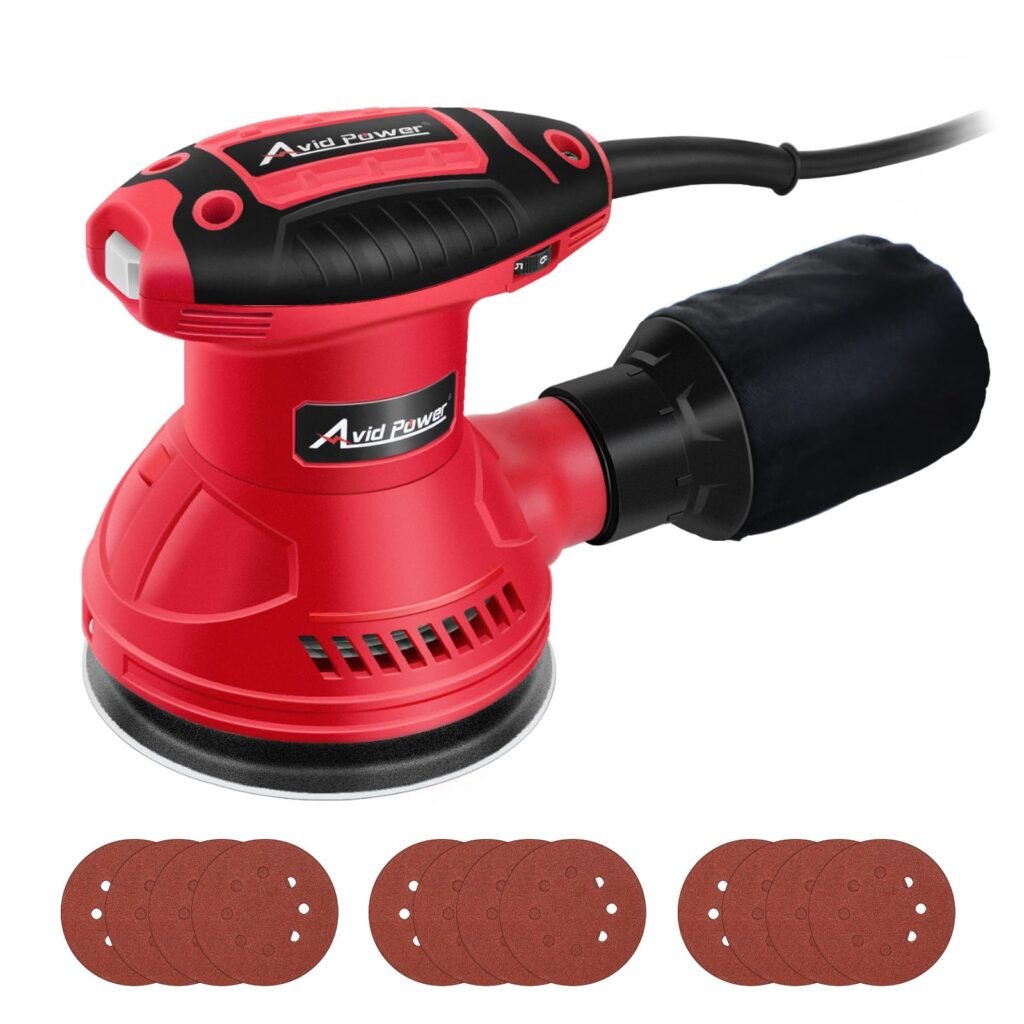
- Sandpaper or Power Sander
- Safety Glasses, Gloves, and Dust Mask

Optional but Helpful Tools:
- Miter Saw for precise angled cuts
- Jigsaw for curved cuts or detailed work
- Pocket Hole Jig for hidden screws
- Wood Glue for added strength
- Level to ensure your surface is perfectly flat
Pro Tip 3: Keep your work area organized to prevent accidents and misplaced tools.
Step 4: Cut and Prepare the Wood
Using your design as a guide, measure twice and cut once. Cut the following:
- Four legs (same length)
- Top and bottom long stretchers
- Side stretchers
- Supports for the worktop
Example Measurements for a 6-foot bench:
- Legs: 34” each
- Long Stretchers: 72”
- Side Stretchers: 24-30”
- Lower Shelf Support: Optional for storage
Pro Tip 4: Smooth all cut edges with sandpaper immediately after cutting to prevent splinters.
Step 5: Assemble the Frame
Start by assembling the top and bottom frames separately.
- Connect the side stretchers to the long stretchers using screws and glue.
- Attach the legs to the corners of the assembled frames.
- Add cross braces if needed for extra stability.
Once the main frame is complete, double-check everything with a level to ensure your bench won’t wobble.
Pro Tip 5: Use clamps to keep everything stable while you drill — it guarantees straight connections.
Step 6: Build and Install the Worktop
The worktop is the most critical part of the workbench. Depending on your need, you can go with:
- A single sheet of ¾” plywood for general tasks.
- A double layer of plywood/MDF glued and screwed together for heavy-duty tasks.
- A hardwood slab or butcher block for premium builds.
Secure the top to the frame from underneath to avoid visible screws on the surface.
Additional Options:
- Apply a protective finish (polyurethane or epoxy resin) for durability.
- Attach bench dogs or a vise if you’re into woodworking.
Pro Tip 6: Chamfer the edges of your worktop with a router or sandpaper to prevent sharp corners.
Step 7: Add Storage Solutions
Maximize your workbench’s functionality with storage:
Ideas for Storage:
- Lower Shelf: Ideal for storing larger tools like saws or sanders.
- Drawers: Store nails, screws, measuring tapes, etc.
- Pegboards: Hang hammers, wrenches, and hand tools.
- Magnetic Strips: Keep metal tools within easy reach.
Customizing storage ensures that your workspace remains uncluttered and efficient.
Pro Tip 7: Leave some space customizable so you can adapt storage as your needs evolve.
Step 8: Sanding and Finishing
Sanding your workbench smoothens the surface for comfort and safety. Start with coarse-grit sandpaper (60-80 grit) and finish with fine-grit (120-180).
Finishing Options:
- Polyurethane: Durable and water-resistant.
- Danish Oil or Tung Oil: For a natural wood finish with protection.
- Paint or Stain: Adds color and enhances wood grain visibility.
Pro Tip 8: Don’t skip sanding even if you love a “rustic” look — smooth surfaces prevent snags and splinters.
Step 9: Personalize with Accessories
This is where your bench transforms from basic to uniquely yours.
Accessories to Consider:
- Integrated Power Outlets: For powering tools directly on the bench.
- LED Lighting: Especially useful for detailed work.
- Heavy-Duty Casters: Add mobility but ensure they have locking mechanisms.
- Built-in Vise or Clamp Mounts: Crucial for woodworking.
- Hooks for Extension Cords: Prevent tripping hazards.
Pro Tip 9: A footrest bar on the lower section can reduce fatigue during long projects.
Step 10: Safety Checks and Maintenance
Before declaring your workbench complete, perform these final checks:
- All screws and joints are tight.
- The surface is level and smooth.
- Any add-ons (vises, power strips) are securely mounted.
- Wheels lock properly if added.
Maintenance Tips:
- Wipe down surfaces regularly.
- Reapply protective finishes yearly.
- Tighten loose joints as needed.
Pro Tip 10: Adding rubber pads to the feet protects your floor and reduces vibrations.
10 Pro Tips Recap:
- Sketch with precise dimensions.
- Use kiln-dried lumber to prevent future warping.
- Organize and prepare all tools before starting.
- Label each wood piece post-cut.
- Clamp materials during assembly.
- Glue and screw layered tops for strength.
- Incorporate modular storage.
- Sand thoroughly for a professional finish.
- Accessorize with lights, power strips, and vises.
- Add rubber feet or casters for mobility and floor safety.
Bonus Ideas for Advanced Customization
- French Cleat Wall System: Allows for easily adjustable wall-mounted storage.
- Dust Collection System: Essential if you use power tools regularly.
- Integrated Charging Station: For drills and battery-powered tools.
FAQs About Building a Custom Workbench
1. What is the ideal height for a workbench?
Waist height, typically 34-36 inches, is most comfortable for standing tasks.
2. How much does it cost to build a custom workbench?
Depending on materials, it can range from $100 to $400.
3. Can I build a workbench without power tools?
Yes, but power tools make the process faster and more precise.
4. What’s the best wood for a workbench top?
Hardwoods like maple or double-layered plywood are best for durability.
5. How thick should a workbench top be?
At least 1.5 to 2 inches thick for stability.
6. Do I need a bottom shelf?
Optional, but it maximizes storage space.
7. Should I use screws or nails?
Screws provide a stronger hold and are easier to adjust later.
8. Can I add wheels to a workbench?
Yes, heavy-duty casters make it mobile — just ensure they have locks.
9. What’s the best finish for a workbench?
Polyurethane provides excellent protection against wear.
10. Is it cheaper to build or buy a workbench?
Building is often cheaper and allows full customization.
11. How long does it take to build a workbench?
Typically, 1-2 days depending on complexity.
12. Can I make a folding workbench?
Yes, there are foldable designs for small spaces.
13. Should the workbench be anchored to the wall?
For heavy-duty tasks, anchoring adds extra stability.
14. How to prevent the bench from wobbling?
Ensure the frame is square and level; add cross braces if needed.
15. Can I add a metal top to my workbench?
Yes, adding a metal sheet protects against heat and cuts.
16. What’s better: fixed or modular storage?
Modular storage provides flexibility for future needs.
17. How to maintain my workbench?
Regularly clean, sand lightly, and reapply sealant as needed.
18. Are vises necessary on a workbench?
If you do woodworking or need to hold materials, yes.
19. What is the best light for a workbench?
LED strip lights or adjustable desk lamps offer focused lighting.
20. Can I build a workbench with recycled materials?
Absolutely! Repurposed wood can be budget-friendly and eco-conscious.
Start Building Your Dream Workbench Today!
Congratulations! You now have a complete Step-by-Step Guide to Building a Custom Workbench — plus expert tips, ideas, and customization options.
With a bit of effort, you can create a durable, stylish, and practical workspace that enhances your DIY projects and craftsmanship.
👉 So what are you waiting for? Gather your materials, sketch your dream workbench, and start building!
Share your builds with friends or online communities — and don’t forget to download our free printable workbench checklist to guide you through every step. Subscribe to MindGearMen.