🎵 Why Build a DIY Audio Setup?
Ever imagined having theater-quality sound right in your living room—without breaking the bank? With a DIY audio setup, you can bring your music, movies, and gaming to life by customizing your sound system based on your personal preferences and budget.
The best part? You don’t need to be an audio engineer to make it happen. Whether you’re a music enthusiast, a home theater fan, or just love tinkering with gadgets, building your own audio system can be both fun and rewarding.
In this guide, we’ll walk you through 9 powerful and practical steps to build a high-quality DIY audio setup right at home.
Table of Contents
🔊 Step 1: Plan Your Audio Setup Goals
Before buying anything, ask yourself:
- What is the main purpose? (Music, movies, gaming, or all three?)
- Where will you install it? (Living room, bedroom, studio?)
- Do you want a wired or wireless setup?
- Will you be expanding it later?
Having a clear vision will help you choose the right components and avoid overspending. Sketch a layout of your room and mark potential speaker positions and wire paths.
💰 Step 2: Set a Realistic Budget
Building a sound system doesn’t have to cost a fortune. Determine how much you’re willing to spend on:
- Speakers
- Amplifier or receiver
- Audio source (CD player, turntable, streaming device)
- Accessories (cables, stands, mounts, etc.)
Pro tip: Prioritize speakers and amplifier quality—these make the biggest impact on your sound.
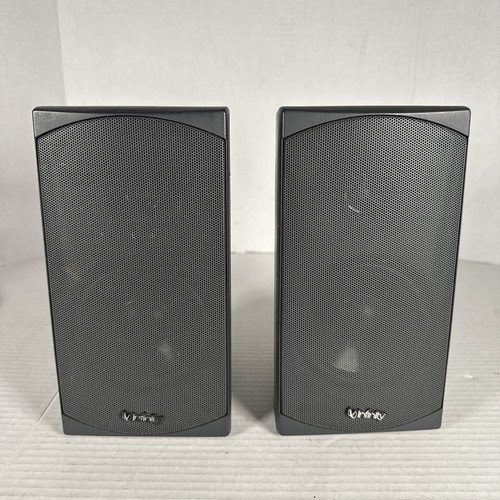
🔉 Step 3: Choose the Right Speakers
Speakers are the heart of your audio system. Depending on your space and usage, you can choose from:
🔹 Bookshelf Speakers
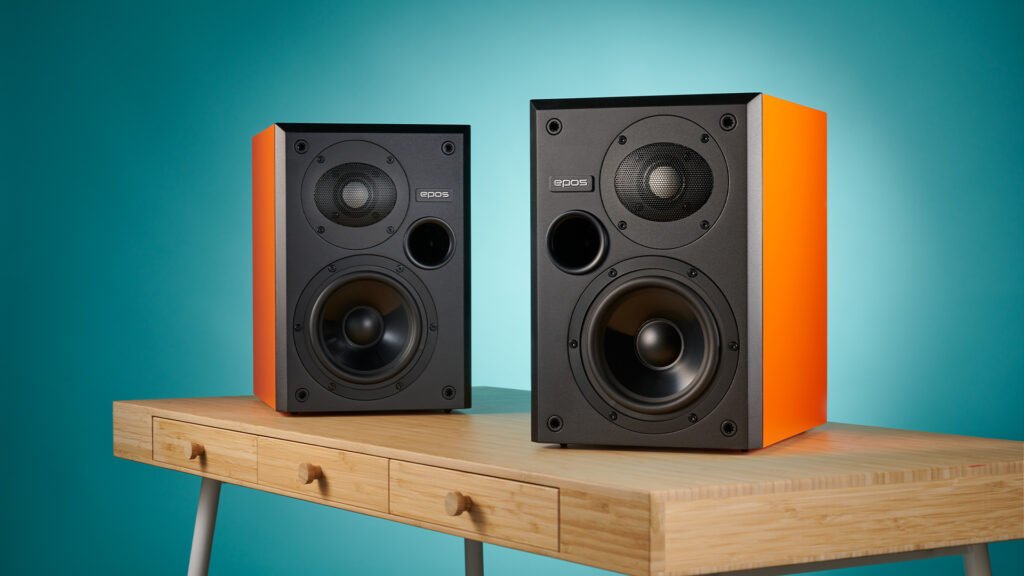
Compact and powerful—great for small to mid-sized rooms.
🔹 Floorstanding Speakers

Best for large rooms or full-range audio. Offers deep bass and high clarity.
🔹 Satellite Speakers
Ideal for surround sound setups. Use them as rear or side speakers.
🔹 Subwoofers

Add deep, rich bass to music and explosions in movies. Optional but highly recommended.
Tip: Match speakers by brand and series to ensure uniform sound.
🔌 Step 4: Select an Amplifier or AV Receiver
Your amplifier or AV receiver powers the speakers and manages sound signals. Here’s what to consider:
- Power output (measured in watts per channel)
- Impedance matching with your speakers
- Connectivity options (HDMI, RCA, optical, Bluetooth, Wi-Fi)
If you’re creating a home theater system, choose an AV receiver that supports Dolby Atmos or DTS:X for 3D surround sound.
🎧 Step 5: Pick Your Audio Source
Your sound is only as good as your source. Depending on your needs, you might use:
- Turntable for vinyl lovers
- CD/DVD/Blu-ray players
- Streaming devices like Chromecast, Apple TV, or Amazon Fire Stick
- Hi-Fi media players
- Smartphones or laptops (connected via Bluetooth or auxiliary input)
For high-resolution audio, use FLAC files or streaming services like Tidal or Qobuz.
🧰 Step 6: Invest in Quality Cables and Accessories
Don’t ignore this step! Cheap cables can degrade sound quality. Invest in:
- OFC (Oxygen-Free Copper) speaker wires
- High-quality HDMI or optical cables
- Power surge protectors
- Speaker stands or wall mounts
- Cable management tools to keep things neat
Gold-plated connectors can help prevent corrosion and improve signal transmission.
🏠 Step 7: Optimize Room Acoustics
Your room plays a huge role in how audio sounds. To improve acoustics:
- Add rugs, curtains, or acoustic panels to reduce echo
- Avoid placing speakers flush against walls
- Keep speakers at ear level and spaced equally from your seating area
- Angle the speakers slightly inward (toe-in) for better stereo imaging
- Use corner bass traps if bass sounds muddy
A well-treated room can make a mid-range system sound premium.
🔧 Step 8: Setup, Wiring, and Calibration
Now the fun begins! Here’s how to set everything up:
Position Your Speakers
Follow the manufacturer’s recommended layout (usually in a stereo triangle or 5.1/7.1 format).
Connect Everything
- Link your audio source to the amplifier
- Connect your amplifier to the speakers using the correct polarity (+/-)
- Connect the subwoofer (usually via LFE or RCA)
Power On and Calibrate
- Run the auto-calibration software (most AV receivers have this)
- Adjust treble, bass, and balance settings to taste
- Use sound test tones to balance speaker volumes manually
🎶 Step 9: Test, Tweak, and Enjoy
Play a few familiar songs or movie scenes to test your setup.
- Listen for clarity, depth, and balance
- Adjust settings and speaker placement as needed
- Use an SPL meter or mobile app to ensure consistent volume levels across channels
Your first setup might not be perfect—and that’s okay! Tweaking and upgrading over time is part of the DIY fun.
💡 Bonus Tips to Enhance Your Audio Experience
- Use a DAC (Digital to Analog Converter) for improved audio from digital sources.
- Add a streaming hub like a Raspberry Pi with Volumio or Plex.
- Enable multi-room audio using platforms like Sonos or AirPlay.
- Install smart plugs to control your system with voice assistants.
- Keep firmware updated on your AV receiver or smart devices.
❓ Frequently Asked Questions (FAQ)
1. Can I build a DIY audio setup with Bluetooth speakers?
Yes, but you’ll sacrifice some control and sound quality compared to wired setups.
2. What’s the minimum budget for a decent home audio setup?
You can start at $300–$500 for a basic 2.1 system and scale up.
3. Do I need a subwoofer?
Not essential, but it greatly enhances movie and bass-heavy music experiences.
4. How do I reduce echo in my room?
Add soft furnishings like carpets, curtains, or foam panels to absorb sound.
5. Can I use my PC or laptop as an audio source?
Absolutely. Just connect via Bluetooth, auxiliary, or USB DAC.
6. Is it worth buying used audio equipment?
Yes—especially vintage amplifiers or high-end speakers in good condition.
7. What is bi-wiring or bi-amping?
These are advanced speaker setups for enhanced performance. Not necessary for beginners.
8. Are soundbars good alternatives?
They’re convenient, but a full DIY setup provides better immersion and upgrade options.
9. Do cable brands matter?
Not always. Focus on build quality and materials rather than hype.
10. How do I future-proof my audio system?
Get a receiver with HDMI ARC/eARC, Wi-Fi, and 4K/8K support.
11. Can I connect a turntable to my DIY setup?
Yes, but some turntables require a phono preamp to boost the signal before it reaches your amplifier.
12. What is the best speaker placement for optimal sound?
Position your speakers in a stereo triangle configuration, ensuring they’re at ear level and equidistant from your primary seating area. Angle them slightly inward for better imaging.
13. How can I set up multi-room audio in my home?
Use wireless protocols like Sonos, Apple AirPlay, or Chromecast Audio to sync audio across multiple rooms effortlessly.
14. What is a DAC, and do I need one?
A Digital-to-Analog Converter (DAC) improves audio quality from digital sources. If you’re using a PC or smartphone, an external DAC can significantly enhance sound clarity.
15. Can I integrate my DIY audio setup with smart home devices?
Yes! Many AV receivers and amplifiers support voice control through Alexa, Google Assistant, or Siri, making control seamless.
16. What’s the difference between stereo and surround sound?
- Stereo: Uses two channels (left and right) ideal for music.
- Surround Sound: Uses multiple channels (5.1, 7.1, etc.) for immersive movie experiences.
17. How often should I upgrade my audio equipment?
There’s no strict timeline. Upgrade when new technologies emerge or when you feel your current setup no longer meets your needs.
18. What speaker wire gauge should I use?
For most home setups, 16-gauge wire works well, but for longer runs or higher-power systems, 14 or 12-gauge is better.
19. Do I need a professional installer for my DIY audio setup?
Not necessarily. If you follow guides and instructions, most setups can be handled by beginners. However, professional help may be needed for custom in-wall wiring or advanced home theater calibration.
20. What’s the benefit of using an AV receiver versus a regular amplifier?
An AV receiver supports multiple input sources, video passthrough (like 4K or 8K), and surround sound, while a stereo amplifier is simpler and dedicated to high-quality two-channel audio.
21. Can I connect multiple audio sources to one system?
Yes, AV receivers allow multiple devices like TVs, gaming consoles, turntables, CD players, and smartphones to connect via various inputs.
22. How do I maintain and care for my audio equipment?
- Dust components regularly.
- Keep them ventilated to avoid overheating.
- Use voltage regulators or surge protectors to prevent power damage.
23. What type of music benefits most from a subwoofer?
Genres like hip-hop, EDM, rock, and cinematic scores benefit from the added bass a subwoofer provides.
24. What’s the ideal listening position in a DIY setup?
This is called the sweet spot—ideally centered and equidistant from the left and right speakers, forming an equilateral triangle.
25. Can I improve my existing audio system without replacing everything?
Yes, you can upgrade components one at a time, such as adding a better DAC, upgrading your speakers, or improving your cables and accessories.
✅ Time to Build Your Dream Sound System!
Creating your own DIY audio setup is more than just a weekend project—it’s a long-term investment in how you experience music, movies, and life. With the right components, careful planning, and a bit of passion, you can build a system that rivals professional setups for a fraction of the cost.
So, are you ready to feel every beat, every whisper, and every explosion like never before?
Take the first step today—plan your dream setup and bring immersive audio home! 🎧
Subscribe to MindGearMen.