So, you’ve got the voice. That deep, resonant timber, that bright, energetic spark, or that smooth, trustworthy tone that could sell ice in a blizzard. You’ve decided to turn that natural gift into a career, right from the comfort of your own home. Awesome!
But then you hit “record,” and the playback sounds… well, a little less Hollywood and a little more “recorded in a bathroom.” What gives?
You’re not alone. Many aspiring voice actors have a fantastic instrument but are held back by their gear. The truth is, your raw talent is only half the battle. To compete in today’s market, you need crystal-clear, professional-grade audio. And that, my friend, comes down to the tools you use.
Navigating the world of audio equipment can feel like learning a new language. XLR, phantom power, DAW, condenser… it’s a lot. But don’t worry. We’re here to cut through the noise. We’ve compiled the ultimate list of the top 5 essential tools that will take your home voiceover setup from amateur to absolute pro.
Ready to build a home studio that makes your voice shine? Let’s dive in.
1. A Quality Condenser Microphone: Your Voice’s True Partner
If your voice is the star of the show, the microphone is its most important supporting actor. It’s the very first thing your voice touches on its journey to becoming a digital file. Using the built-in mic on your laptop or a cheap gaming headset just won’t cut it. They are designed to pick up everything, including the hum of your fridge and the dog barking two streets over.
For voiceover work, you need a microphone that captures the rich detail and subtle nuances of your performance with clarity and warmth. This is where the Large-Diaphragm Condenser (LDC) microphone comes in. These mics are the industry standard for studio vocals and voiceovers for a reason. They are incredibly sensitive and detailed, perfect for capturing every inflection in a controlled environment.
USB vs. XLR: What’s the Difference?
You’ll mainly see two types of connections: USB and XLR.
- USB Mics: These are fantastic for beginners. They are plug-and-play, connecting directly to your computer’s USB port. They’re convenient, affordable, and the quality has improved dramatically over the years. A great starting point.
- XLR Mics: This is the professional standard. XLR mics require an audio interface (more on that later!) to connect to your computer. They offer superior sound quality, more durability, and the flexibility to upgrade your setup piece by piece. If you’re serious about voiceover, an XLR setup is the long-term goal.
Our Top Picks:
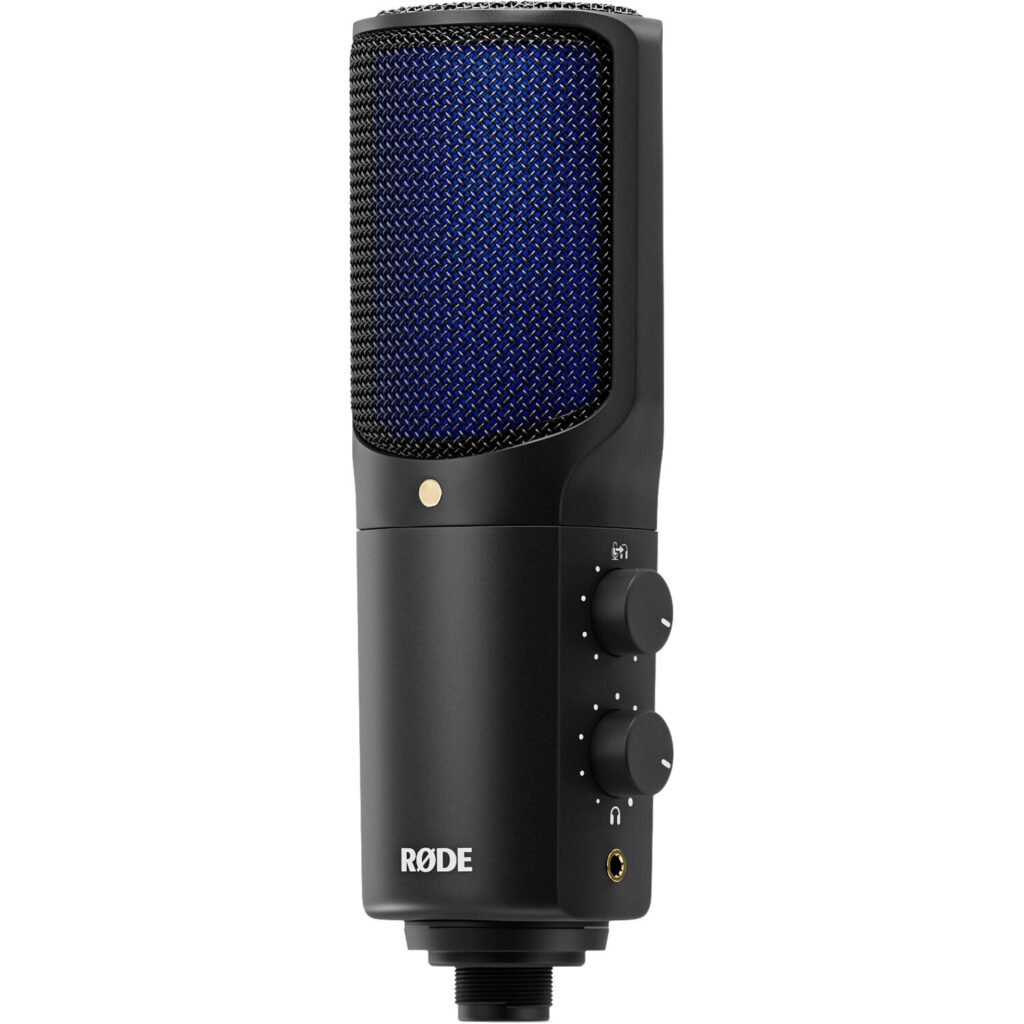
- Beginner (USB): The Rode NT-USB+ is a workhorse. It delivers exceptional clarity and a very professional sound right out of the box. The Audio-Technica AT2020USB+ is another legend in this space, known for its crisp, studio-quality sound at a budget-friendly price.
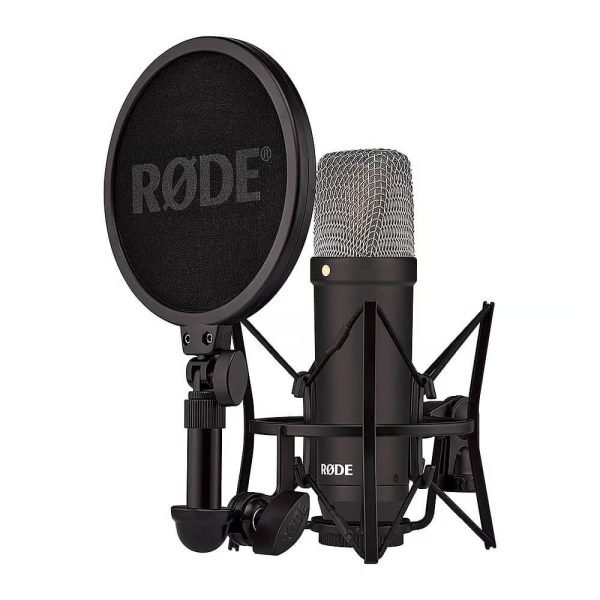
- Pro-Level (XLR): The Rode NT1 is often called the best “first professional” microphone. It’s known for its incredibly low self-noise, meaning the only thing it records is you. The Neumann TLM 102 is a step up, offering that world-famous Neumann sound in a more compact and affordable package. It provides a rich, warm tone that makes almost any voice sound incredible.
Investing in a quality microphone is the single most impactful upgrade you can make. It’s the foundation of your entire sound. Don’t skimp here.
2. A Pop Filter: Banishing the Plosives
Ever listened back to a recording and heard a loud, disruptive “thump” or “pop” on words with ‘P’ or ‘B’ sounds? Like “Please buy this product!” sounding more like “THUMPlease THUMPuy this THUMProduct!”
Those are called plosives. They happen when a blast of air from your mouth directly hits the microphone’s sensitive diaphragm. It’s distracting, unprofessional, and a nightmare to try and edit out later.
The solution is simple and wonderfully effective: a pop filter.
This unassuming screen, which you clip onto your mic stand and position a few inches in front of the microphone, acts as a barrier. It disperses that aggressive puff of air before it can slam into the mic, while letting your actual voice pass through cleanly. It’s a non-negotiable tool for clean vocal recordings.
There are two main types:
- Nylon Mesh: The classic, affordable, and effective option. They do a great job of diffusing the air.
- Metal Mesh: These are more durable, easier to clean, and some engineers argue they allow more of the high-frequency detail of your voice to pass through compared to nylon.
Which one should you get? Honestly, either will dramatically improve your recordings. For under $20, a pop filter provides an incredible return on investment. It saves you hours of frustrating editing and instantly makes your audio sound more polished and professional. It’s the smallest, cheapest piece of kit with the biggest impact. Get one. No excuses.
3. An Audio Interface: The Digital Bridge
If you’ve chosen the professional path with an XLR microphone, you’ll need an audio interface. Don’t let the name intimidate you. Think of it as the central nervous system for your home studio.
So, what does it actually do?
An audio interface is a small box that serves three critical functions:
- It Connects Your Mic: It has an XLR input for your professional microphone to plug into.
- It Provides Power: Condenser microphones need a small amount of electricity to work. This is called “Phantom Power,” usually labeled as a ‘+48V’ button on the interface. The interface supplies this power.
- It Converts the Signal: Your microphone captures sound as an analog signal. Your computer only understands digital information. The interface contains a high-quality Analog-to-Digital Converter (ADC) that translates your voice into a clean digital signal your computer can record. It does this far better than your computer’s built-in sound card.
Using an audio interface instead of a direct USB mic gives you significantly better sound quality, lower latency (the annoying delay between when you speak and when you hear it in your headphones), and more control. You get a physical knob to adjust your recording level (gain) without having to fiddle with software settings.
What to Look For:
For voiceover, you don’t need a huge, complex interface with a dozen inputs. A simple one or two-channel interface is perfect.
Our Top Picks:
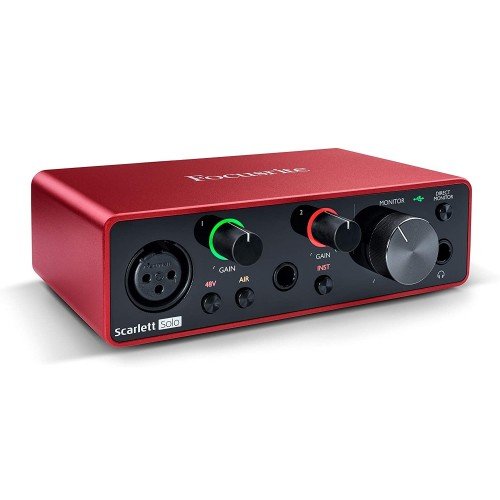
- The Go-To Standard: The Focusrite Scarlett Solo or 2i2 are arguably the most popular interfaces in the world for home studios. They are user-friendly, reliable, and have excellent preamps (the part that boosts the mic’s signal) for their price point.
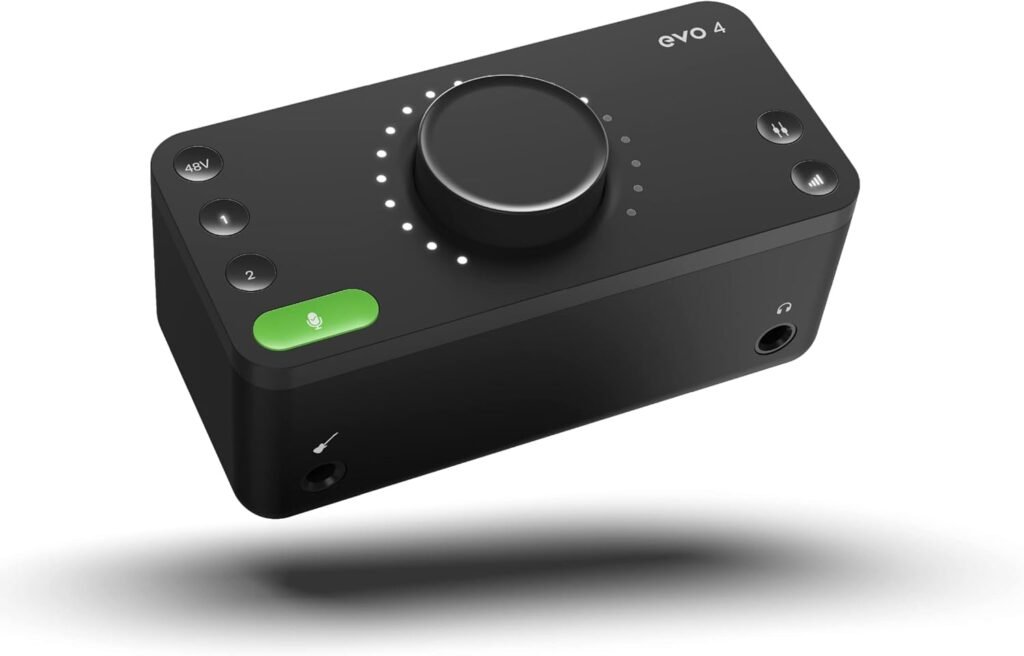
- Solid Alternatives: The Audient EVO 4 is another fantastic choice, known for its “Smartgain” feature that automatically sets your recording level. The MOTU M2 is praised for its exceptional converters and a clear LCD screen for monitoring your levels.
An audio interface is the key that unlocks the full potential of a professional XLR microphone. It’s the unsung hero that ensures your pristine performance is captured faithfully.
4. Closed-Back Headphones: Your Sonic Mirror
You would never try to paint a portrait without looking at the canvas, right? Recording voiceover without headphones is the audio equivalent of that. You need to hear exactly what the microphone is capturing, as it’s capturing it.
This is called monitoring. Headphones are essential for two reasons:
- Performance Check: They let you hear any plosives, mouth clicks, or sibilance (harsh ‘S’ sounds) in real-time, so you can adjust your technique on the fly. You can also monitor your mic positioning and vocal level to ensure you’re not too loud (clipping) or too quiet.
- Preventing Feedback: If you monitor through speakers, the microphone will pick up the sound from the speakers, creating a horrendous feedback loop. Headphones isolate the sound, ensuring you’re only recording your voice.
For voiceover, you specifically want Closed-Back, Over-Ear Headphones.
- Closed-Back: This design prevents sound from leaking out of the headphones and into your very sensitive microphone. This is crucial. Open-back headphones, while great for mixing, will bleed sound and ruin your recording.
- Over-Ear: They are more comfortable for long recording sessions compared to on-ear models.
You’re not looking for bass-boosted consumer headphones. You need “studio monitor” headphones, which provide a flat, neutral frequency response. This gives you an honest, uncolored representation of your voice, which is exactly what you need.
Our Top Picks:
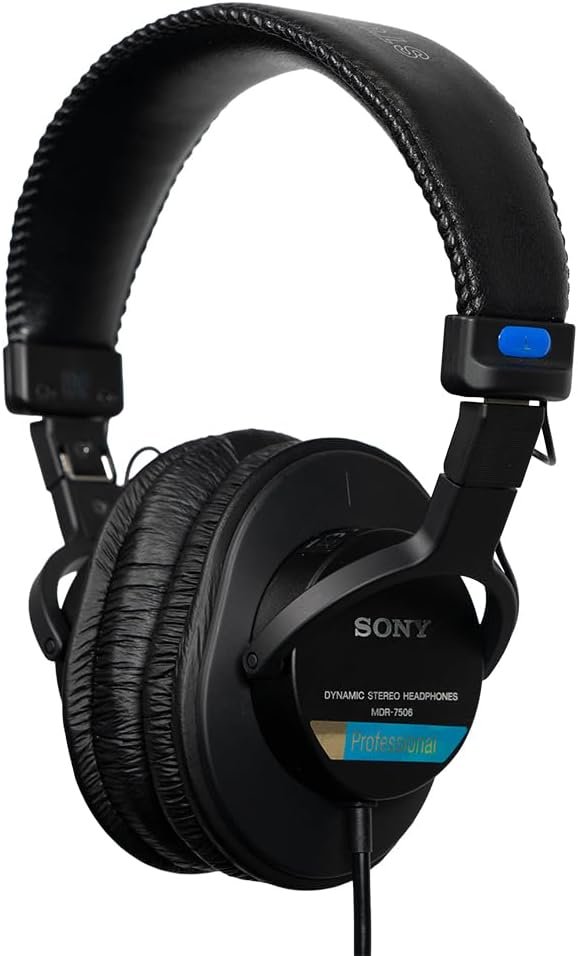
- The Industry Standard: The Sony MDR-7506 headphones have been in studios for decades. They are known for their detailed, accurate sound and rugged build. You can’t go wrong with them.
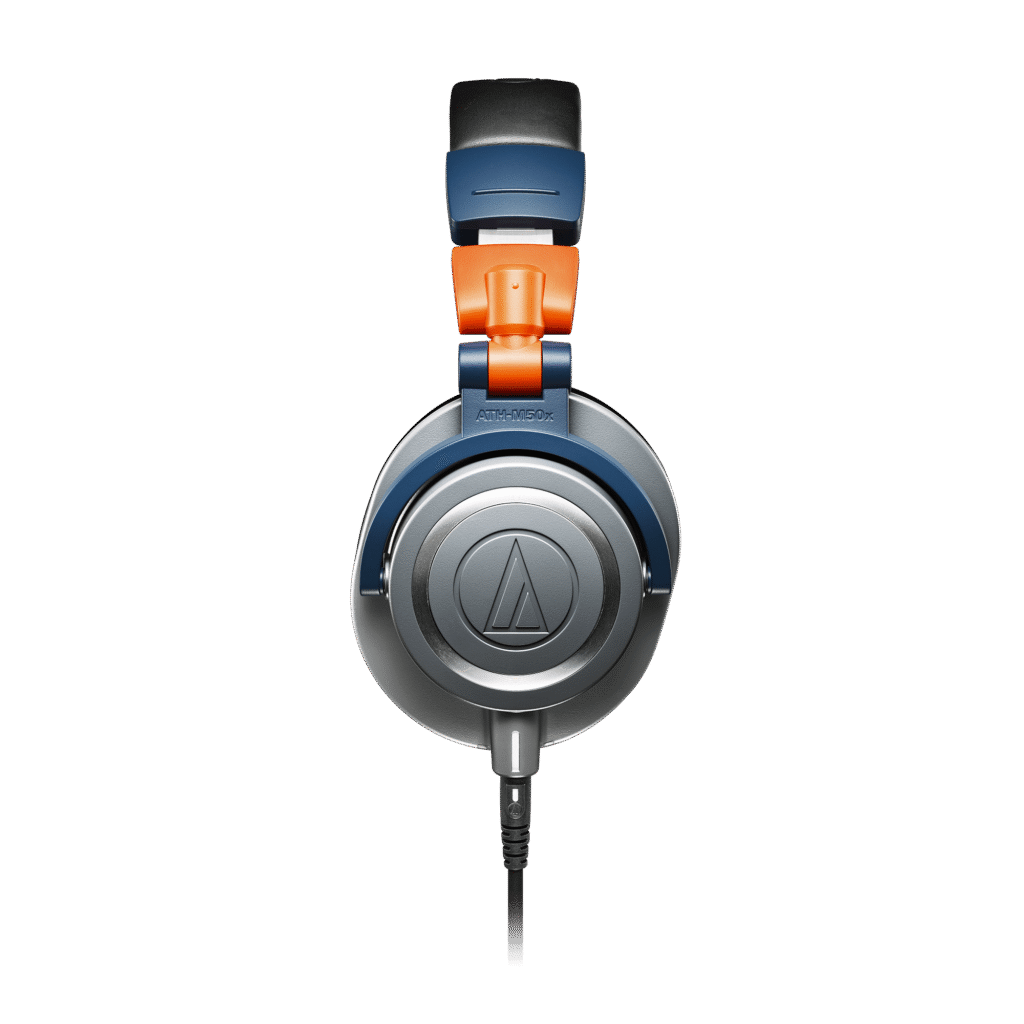
- Excellent Alternatives: The Audio-Technica ATH-M50x is another hugely popular choice, offering fantastic sound isolation and a powerful, accurate sound. For a super comfortable option, look at the Beyerdynamic DT 770 PRO.
Good headphones are your sonic mirror. They are a critical diagnostic tool that allows you to self-direct and deliver a flawless performance every single time.
5. A DAW (Digital Audio Workstation): Your Editing Suite
You’ve captured a beautiful recording with your new mic, interface, and headphones. Now what? Now, it’s time for the final polish. This is where your Digital Audio Workstation, or DAW, comes in.
A DAW is the software on your computer where you record, edit, and process your audio. It’s your virtual cutting room floor. Here, you can trim out breaths, cut out mistakes, reduce background noise, and apply subtle effects to make your voice sit perfectly in a mix.
Learning the basics of editing is a non-negotiable skill for a modern voice actor. Being able to deliver a “clean” and edited file to a client will make you far more hirable.
The good news? You can get started for free!
- The Best Free Option: Audacity is a powerful, open-source, and completely free audio editor. It has everything you need to get started: recording, cutting, pasting, noise reduction, equalization, and compression. It might not be the prettiest software, but it is incredibly capable and there are thousands of tutorials online to help you learn it. It is the perfect place to start your editing journey.
- Professional Paid Options: As you grow, you might want to upgrade to a more advanced DAW with a smoother workflow and more powerful features. Popular choices among voice actors include:
- Adobe Audition: An industry-standard for voice production, with powerful restoration tools and a great workflow designed specifically for spoken word.
- Reaper: Incredibly powerful, customizable, and very affordable. It has a steep learning curve but is beloved by its users for its stability and features.
- Studio One: Known for its intuitive drag-and-drop interface, making it one of the easier full-featured DAWs to learn.
Your DAW is your final checkpoint for quality. It’s where you take a great performance and shape it into a flawless, client-ready product. Master the basics of editing in a DAW, and you’ll elevate your value as a voiceover artist immensely.
Frequently Asked Questions (FAQ)
Got more questions? You’re not alone! Setting up a home studio can bring up a lot of “what ifs.” Here are answers to some of the most common questions we get from aspiring voiceover artists.
Q1: Do I really need all five of these tools to get started?
That’s a great question! The honest answer is: it depends on your starting point and goals. The absolute, non-negotiable starting point is a quality microphone and a pop filter. You simply cannot produce clean audio without them. If you start with a USB mic, you won’t need a separate audio interface yet. For editing, a free DAW like Audacity is perfect when you’re beginning. So, to start, focus on a good USB mic, a pop filter, and a free DAW. You can add the interface and upgrade your headphones and software as you start earning.
Q2: I’m on a really tight budget. What’s the most important thing to spend money on?
Without a doubt, your microphone. Your microphone is the gateway for your voice into the digital world. A poor-quality mic will make everything else sound poor, no matter how much you edit it. Even a budget-friendly but well-regarded condenser microphone (like an Audio-Technica AT2020 or Rode NT-USB+) will make a monumental difference compared to any headset or built-in mic. It’s the highest-impact investment you can make.
Q3: You didn’t mention room treatment like foam panels. Isn’t that important?
Yes, it’s incredibly important! While not a “tool” in the same way as a mic or software, your recording space is a critical component. We focused this article on the core electronic equipment, but your room’s acoustics are the next frontier. A room with a lot of hard, flat surfaces (bare walls, hardwood floors) will create echo and reverb that even the best mic will pick up.
The good news is that you can start without spending a lot. Recording in a walk-in closet full of clothes is a classic home studio trick because the clothes absorb sound beautifully. Hanging up heavy blankets or duvets on the walls around your microphone can also work wonders. Once you’re ready to level up from there, you can invest in professional acoustic panels.
Q4: Can I just use my Beats or Apple AirPods for headphones?
While those are great for listening to music, they are not ideal for professional audio monitoring. Consumer headphones are often designed to make music sound more exciting, typically by boosting the bass and high frequencies. This “colored” sound won’t give you an honest representation of what your voice actually sounds like. Studio monitor headphones are designed for a “flat” response, showing you the true sound so you can identify and fix problems accurately. Using consumer headphones is better than nothing, but investing in a pair of entry-level studio headphones is a worthy and relatively inexpensive upgrade.
Q5: When do I know it’s time to upgrade from a USB mic to an XLR mic and interface?
You should consider upgrading when a few things happen. First, if you start auditioning for higher-paying jobs (like national commercials, audiobooks, or e-learning) where the audio quality standards are exceptionally high. Second, when you feel you’ve reached the ceiling of what your USB mic can do and you want more control over your sound quality and recording levels. Finally, if you’re looking to build a more modular, long-term studio, an XLR setup allows you to upgrade your mic, interface, or preamp independently, giving you a professional growth path for years to come.
Your Professional Studio Awaits
Stepping into the world of professional voiceover from home is an exciting journey. While your voice is the most important instrument, surrounding it with the right tools is what will truly set you apart. It’s the difference between sounding like you’re recording in a closet and sounding like you’re in a world-class studio.
Don’t be overwhelmed. You don’t need to buy everything at once. Start with the most critical piece—a quality microphone and a pop filter. Then, as you grow your skills and your business, you can add an interface, professional headphones, and master your DAW.
Each of these five tools—the Condenser Microphone, the Pop Filter, the Audio Interface, the Closed-Back Headphones, and your DAW—is a vital link in the chain of creating broadcast-quality audio. By investing wisely in your setup, you’re not just buying gear; you’re investing in your career, your professionalism, and your ability to deliver incredible results for your clients.
Ready to stop sounding like a beginner and start booking gigs with confidence? It’s time to build the home studio you and your voice deserve.
What’s the first piece of gear you’re planning to upgrade? Share your thoughts and questions in the comments below! We’d love to help you on your journey. Also don’t forget to subscribe to MindGearMen.