Picture this: a starry night sky, a cozy fire flickering in the background, the aroma of toasted marshmallows wafting through the air, and your friends or family gathered around—laughing, sharing stories, and enjoying the moment.
It sounds like the perfect backyard setting, doesn’t it? The best part is you can create this ambiance by building your very own outdoor fire pit, and guess what? You don’t need to be a professional, nor do you need expensive equipment to make it happen.
In this guide, you’ll learn how to build an outdoor fire pit in just 7 easy steps using minimal tools. Plus, we’ll explore safety tips, design customization, and practical advice to make your DIY fire pit both functional and stylish.
Table of Contents
Why You Should Build a Fire Pit in Your Backyard
A fire pit is more than just a heat source—it’s the centerpiece of an outdoor experience. Here’s why creating one can be a game-changer for your backyard:
- Increases Property Value: Outdoor living spaces are highly desirable, and a well-built fire pit can boost your home’s appeal.
- Affordable Entertainment: Hosting gatherings around a fire pit is cheaper than going out, yet just as enjoyable.
- Year-Round Use: Whether it’s summer nights or winter evenings, a fire pit extends the usability of your outdoor space.
- Simple DIY Satisfaction: There’s a unique pride in crafting something yourself—especially when it’s functional and enhances your home.
So let’s dive into the essentials of building one without needing a full workshop of tools.
Essential Tools and Materials Checklist
Before you get started, gather these basic tools and materials to streamline the process.
Minimal Tools You’ll Need
- Shovel or Spade: For digging out the base area.
- Tape Measure: To accurately measure the fire pit diameter.
- Level: To ensure each layer of bricks is even.
- Rubber Mallet (Optional): Helps tap bricks into place without cracking.
- Gloves: To protect your hands from blisters and sharp edges.
- Wheelbarrow or Buckets: For carrying gravel, sand, or debris.
Basic Materials Required
- Retaining Wall Blocks / Fire Bricks: About 40-50 blocks depending on the desired size.
- Gravel or Crushed Stone: For the foundation.
- Sand: Helps level and stabilize the base.
- Fire Ring Insert (Optional): Increases the durability of your pit.
- Landscape Adhesive (Optional): For extra structural integrity.
Step 1: Pick the Ideal Location
Safety comes first! Choosing the right spot for your fire pit is crucial to prevent hazards and ensure comfort.
Key Considerations:
- Distance: Place your fire pit at least 10-20 feet from buildings, fences, or trees.
- Surface Type: Go for a flat, open space. Gravel, dirt, or stone surfaces are ideal.
- Wind Exposure: Avoid areas prone to strong winds which can carry embers.
- Permissions: Some neighborhoods or cities have regulations or bans on open flames. Always check local codes or HOA guidelines before proceeding.
Pro Tip: Use a compass app to determine wind direction patterns in your area—this can help you avoid placing the pit in a drafty location.
Step 2: Measure and Mark Your Space
Once the location is set, define the size and shape of your fire pit.
Standard Dimensions:
- Internal Diameter: 36-44 inches for a comfortable medium-sized pit.
- Height: About 12-18 inches (3-4 block layers).
Marking Technique:
- Drive a stake into the center point.
- Tie a string to the stake equal to half your desired diameter.
- Walk around the stake while marking the perimeter with spray paint, flour, or chalk.
This ensures a perfectly round guide to dig along.
Step 3: Dig and Clear the Foundation
Digging the base is where the real work begins, but don’t worry—it’s easier than you think.
Digging Depth:
- About 6-12 inches deep.
Clearing the Space:
- Remove grass, rocks, roots, and other debris.
- Ensure the bottom is relatively level to prevent uneven settling.
A well-dug base prevents shifting, sinking, and potential collapse of the structure over time.
Step 4: Add a Gravel and Sand Layer
A solid foundation helps with drainage and longevity.
- Pour 2-3 inches of gravel evenly across the base.
- Use a tamping tool or the back of a shovel to compact it.
- Spread 1 inch of sand on top, leveling it carefully.
This combination prevents water from pooling and ensures that your bricks or blocks remain stable.
Step 5: Lay the First Layer of Blocks
This is when your fire pit starts to take shape!
- Place blocks tightly together along the marked circle.
- Use a level after laying every few blocks to maintain balance.
- Adjust gravel/sand under any uneven blocks.
- If using adhesive, apply landscape adhesive between each block.
Why the First Layer Matters:
A stable first layer sets the tone for the entire structure. If it’s off-balance, the whole pit will lean or collapse.
Bonus Tip: If you’re using a fire ring insert, place it inside the first layer to size-check.
Step 6: Stack Additional Layers (Staggered for Stability)
Stack 2-4 layers of blocks, ensuring seams are staggered (like bricks in a wall). This increases structural strength.
- After each layer, recheck with the level.
- Use the rubber mallet to gently secure blocks in place.
- Apply adhesive if desired for a semi-permanent fixture.
When you reach your preferred height, the structure should look uniform, stable, and professional—even for a DIY build.
Step 7: Fill the Pit and Customize the Surroundings
Now that the walls are complete, it’s time to fill and decorate.
Inside the Pit:
- Add a 3-4 inch layer of gravel at the base for better drainage and reduced fire hazards.
- For extra flair, you can add lava rocks or fire-safe decorative stones.
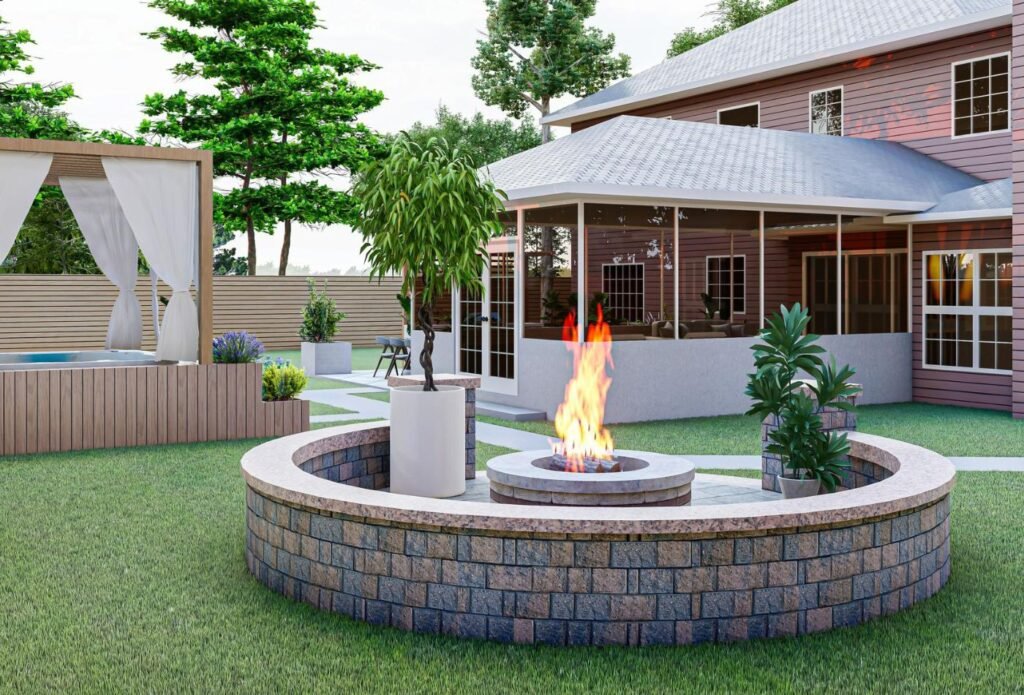
Around the Fire Pit:
- Lay paving stones or bricks around the outside to define the space.
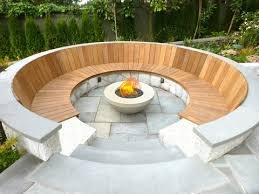
- Set up outdoor seating like Adirondack chairs, benches, or log stools.
- Install solar garden lights or string lights to enhance the ambiance.
Pro Tip: Keep a clear area of 3 feet around the fire pit free of flammable materials.
Important Fire Pit Safety Tips
- Always keep water, sand, or a fire extinguisher nearby.
- Avoid using flammable liquids like gasoline.
- Supervise children and pets around the fire.
- Don’t burn treated wood or materials that can emit toxic fumes.
- Fully extinguish the fire before leaving the pit unattended.
Safety ensures your fire pit remains a place of enjoyment—not accidents.
Customization and Upgrades
Once your basic fire pit is complete, consider these upgrade ideas:
- Built-in Seating: Stone or wood benches for permanent seating.
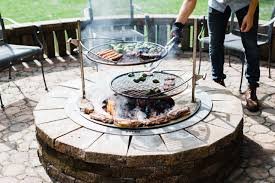
- Grill Attachments: Add a grate to cook burgers, hotdogs, or even pizza.
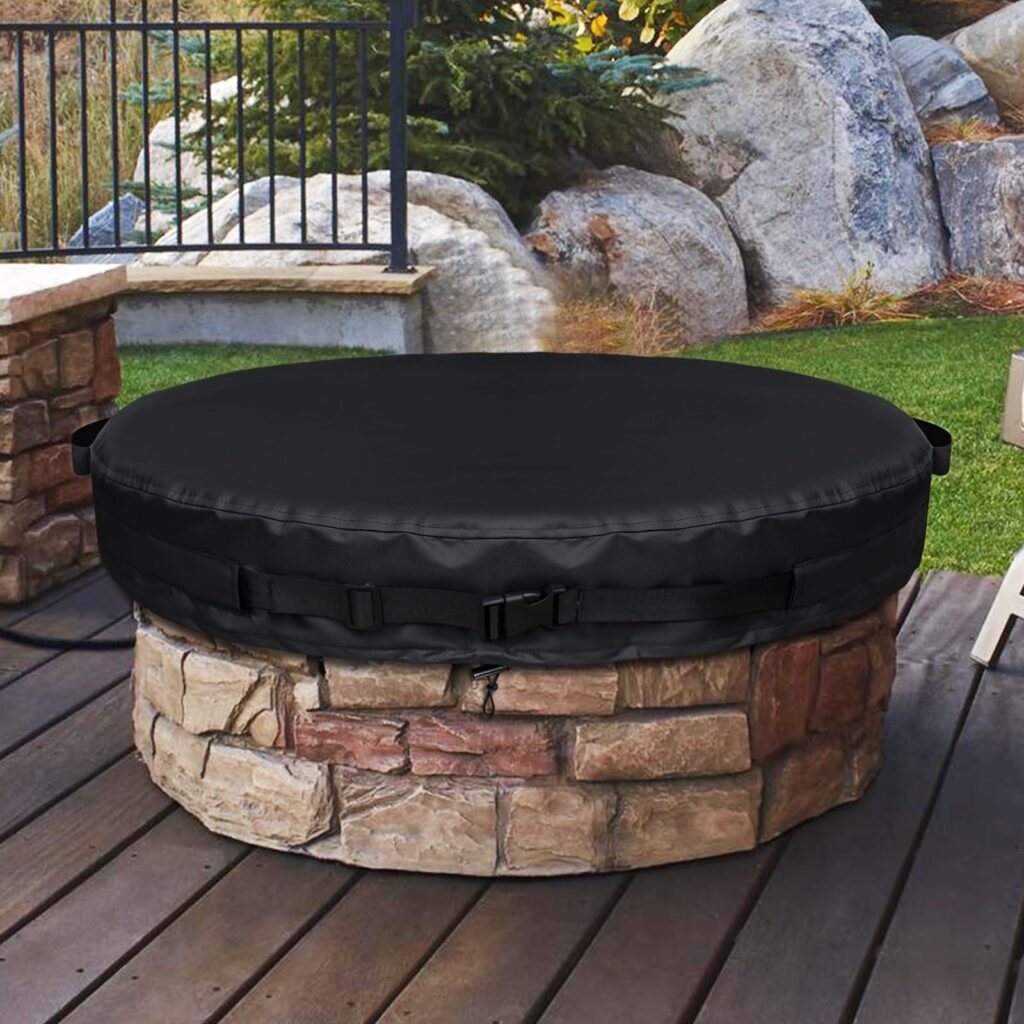
- Fire Pit Cover: Protects the pit from debris and weather damage.
- Themed Decor: Use colored stones or bricks that match your garden aesthetics.
Cost Breakdown for DIY Fire Pit
| Item | Cost Range |
|---|---|
| Retaining Wall Blocks (50 pcs) | $100 – $200 |
| Gravel and Sand | $30 – $50 |
| Fire Ring Insert (optional) | $50 – $100 |
| Landscape Adhesive (optional) | $10 – $20 |
| Tools (if not owned) | $20 – $50 |
| Total Estimated Cost | $140 – $420 |
FAQs About Outdoor Fire Pits
1. Is a fire ring necessary?
No, but it enhances durability and prevents blocks from direct flame damage.
2. Can I build a square fire pit instead of a circular one?
Absolutely! The same steps apply, but use a square layout instead.
3. What type of wood is best?
Seasoned hardwoods like oak, hickory, or maple are best for clean, long-lasting burns.
4. Can I build this on a concrete patio?
Yes, but use a metal fire ring to prevent heat damage to the concrete.
5. Should I use adhesive for each layer?
It’s optional but recommended if you want a permanent and more secure structure.
6. How do I clean the fire pit?
Scoop out ash and debris regularly and rinse gravel if needed.
7. Can I make it portable?
Yes, by not using adhesive and opting for lighter bricks, you can disassemble and relocate it.
8. What’s a good fire pit size for small spaces?
A 24-30 inch diameter pit works well for smaller yards or patios.
9. How long does it take to build?
Most DIYers can complete it in a single afternoon (3-5 hours).
10. Is a permit needed?
Check with your local fire department or municipality as rules vary.
✅ Time to Spark Up Your Backyard!
Building your own outdoor fire pit doesn’t require professional skills or costly equipment. With a weekend’s worth of effort and some basic tools, you can create a welcoming backyard feature that adds value, comfort, and year-round enjoyment.
Whether it’s for roasting s’mores, hosting friends, or enjoying quiet evenings by the flames, your fire pit is bound to become a treasured space.
👉 So what are you waiting for? Grab your shovel, gather your materials, and start building your dream fire pit today! Have questions? Drop them in the comments or share your backyard project photos—we’d love to see them! Subscribe to MindGearMen.